Soft homemade sandwich buns are the perfect recipe for Whatever Wednesdays, cuz it’s Wednesday, and anything goes, right?
The backstory: I wanted to be lazy and just use store bought Ciabatta or Kaiser rolls for my No-Mess oven roasted Pulled Pork Sammies on Labor Day. Clearly 300 other people also wanted to use store bought rolls and they all got to the stores before I did on Saturday morning! I mean really now, I live in a tiny little town in the high plains desert of Idaho – it’s not like there’s ever a run on anything around here! But yep, I got skunked at the store. So I huffed and puffed a bit, then pulled out my yellowed and tattered homemade sandwich bun recipe and got busy.
The great thing about this recipe is that it’s very easy and very forgiving. A little dab of this and that, leave it alone for a few hours, pat the balls of dough into bun shapes, wait a little while longer, toss them in the oven and voila – huge fluffy, golden brown, super soft buns for your sandwiches!
By Saturday night I was patting myself on the back for not buying packaged buns and for taking the extra time to make these sandwich buns. They truly are delicious and I need to make them more often! I’ve just been on a Boule and Sourdough bread kick lately and I’ve ignored all my older recipes in favor of the big airy holes and crispy crusts. I’m sorry Scottish Oatmeal bread, I promise to make you soon. You too Overnight Crescent Rolls, you’re my special rolls and I haven’t forgotten you!
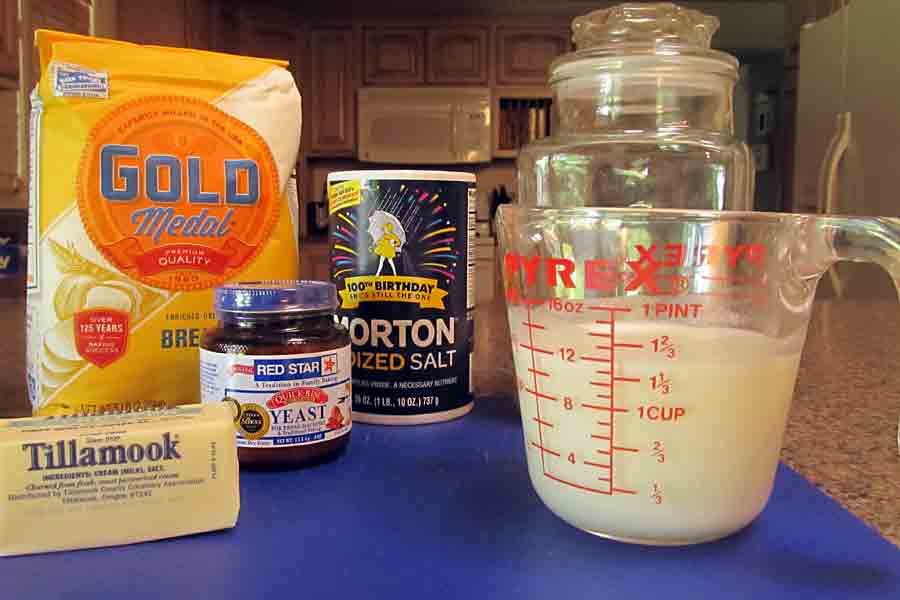
Ok, now that I’m done apologizing to my bread recipes, on to the bun making. There are very few ingredients!
Even better is the fact that you don’t need to scald the milk or even knead this dough very much at all. You mix together 2 cups of the flour with all the dry ingredients, then add the soft butter, eggs and the soured milk (or buttermilk if you have it handy).
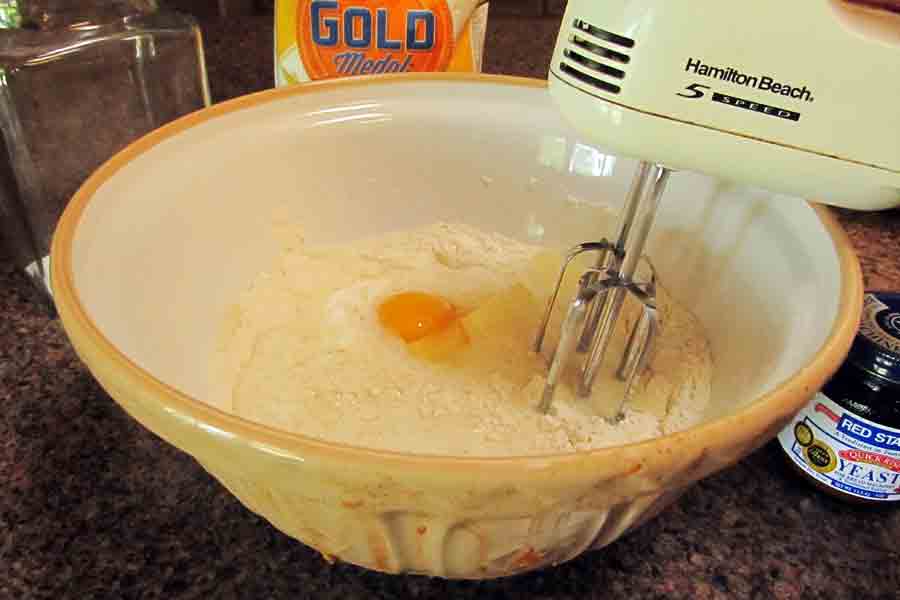
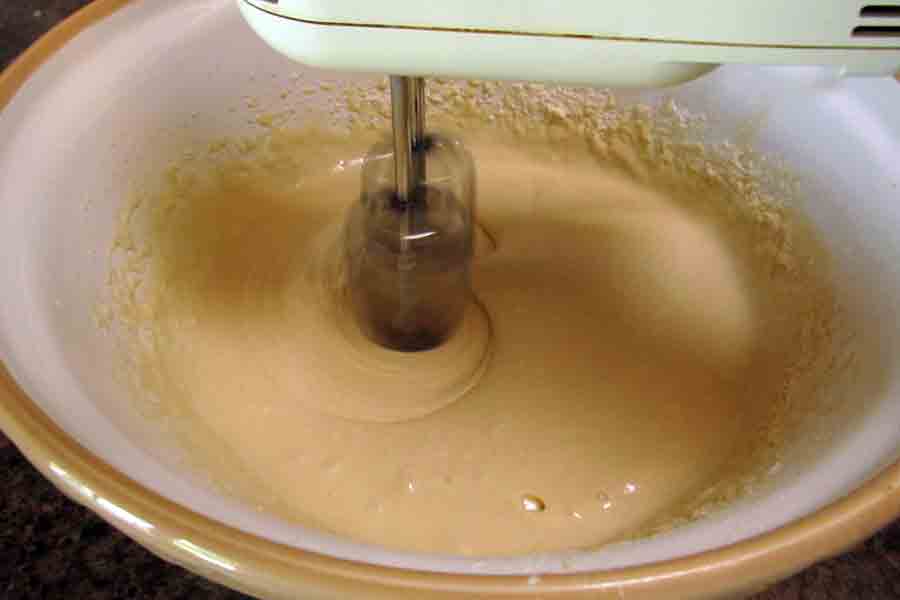
And here comes the hardest part – beating the batter with your hand mixer for 3 minutes! That’s right, you don’t need a dough paddle and a stand mixer for these babies, just a plain old hand mixer does the job. Here’s the batter just as I’m start to beat in the eggs, milk and butter…
And here it is 3 minutes later…
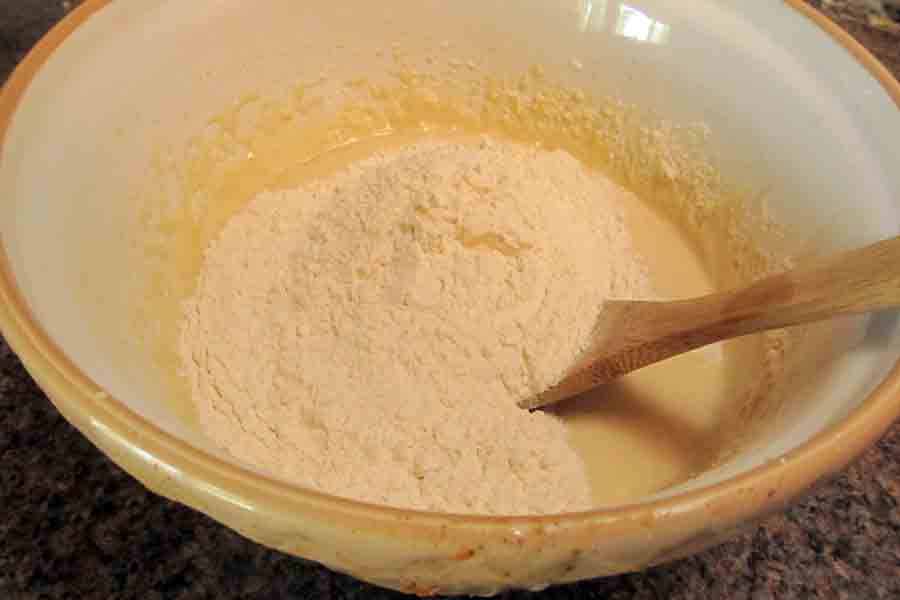
Don’t worry about those little bits of flour on the sides, they’ll get thoroughly mixed into the dough in just a sec… cuz now is when you add in the rest of the flour and stir with a wooden spoon…
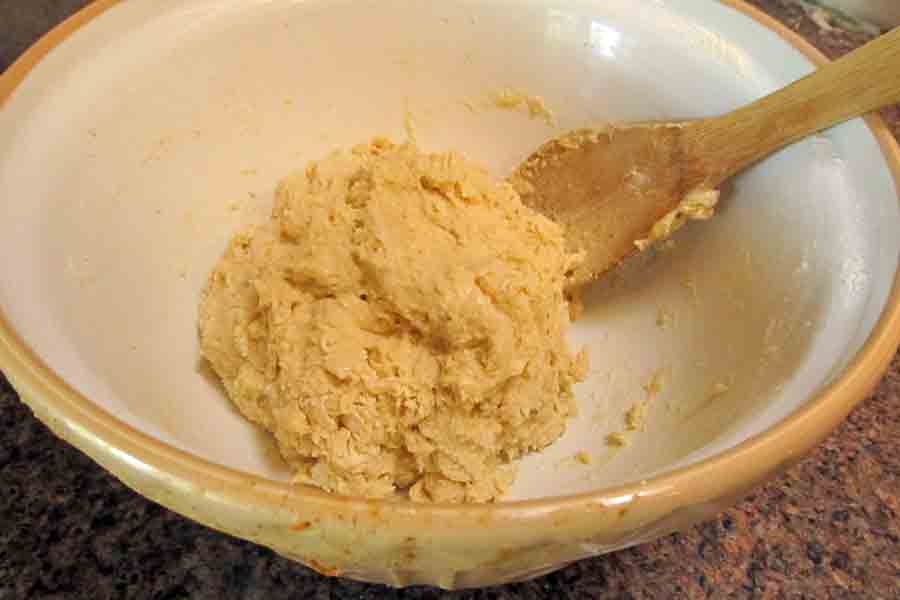
Stir it together just enough to get it to look like this:
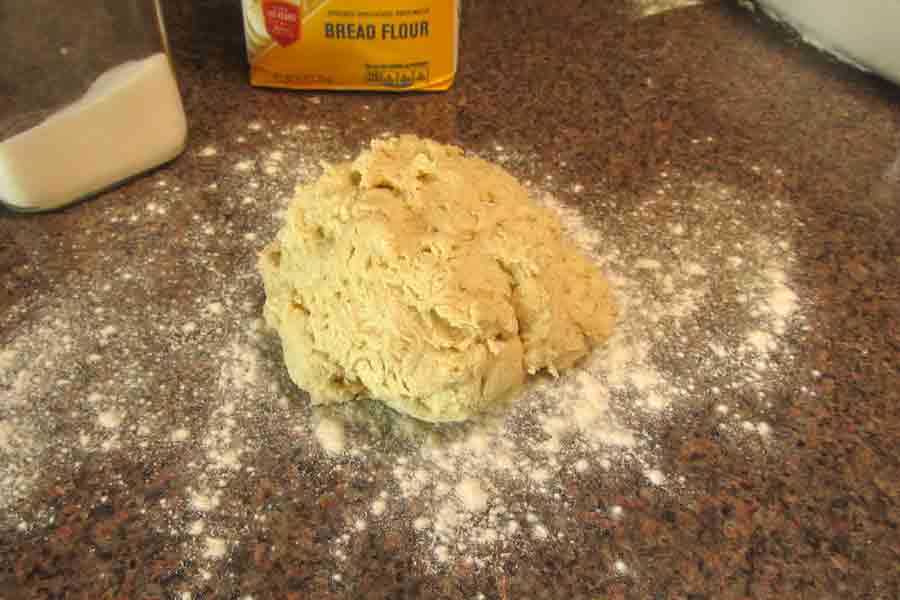
That was another minute of stirring to bring the dough together. Time to get to the kneading part – ohhhh this is gonna wear your arms out – NOT! You place the dough on a lightly floured surface…
…and knead it for 2 – 3 minutes just till it’s soft and smooth. When it looks like this, stop kneading!
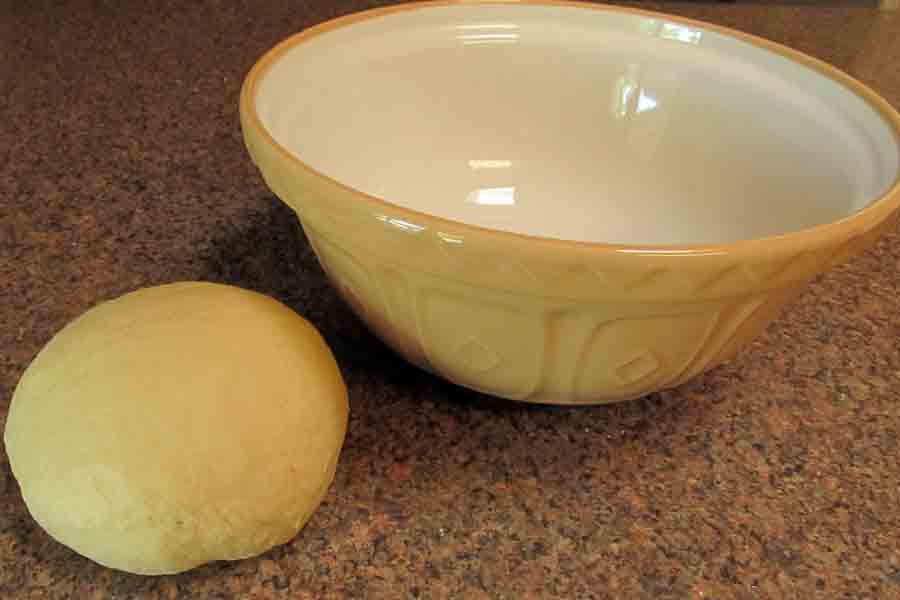
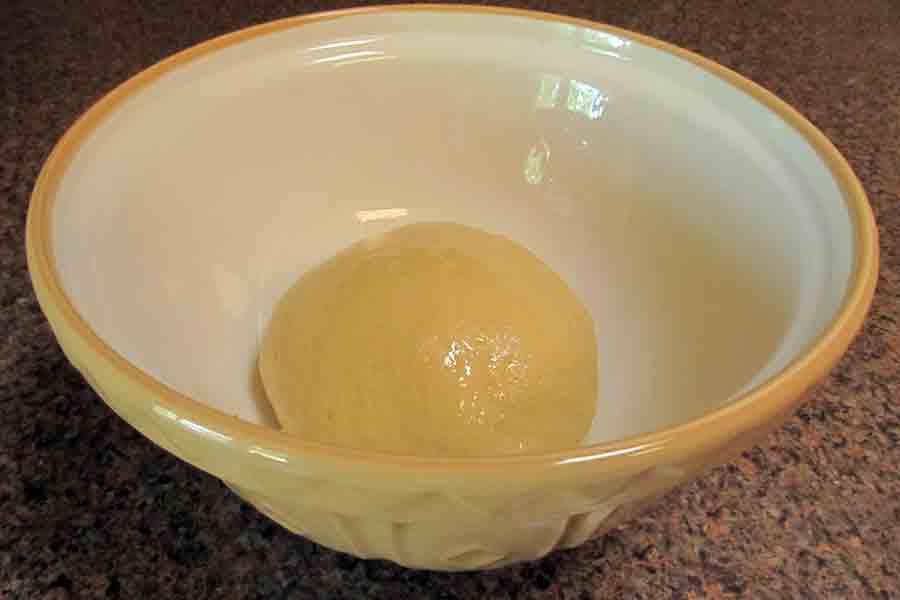
Put the dough into your well greased bowl and turn it once to coat it all with oil. Then cover it with plastic wrap and let it rise for 2 hours in a warm place or till it’s doubled in size.
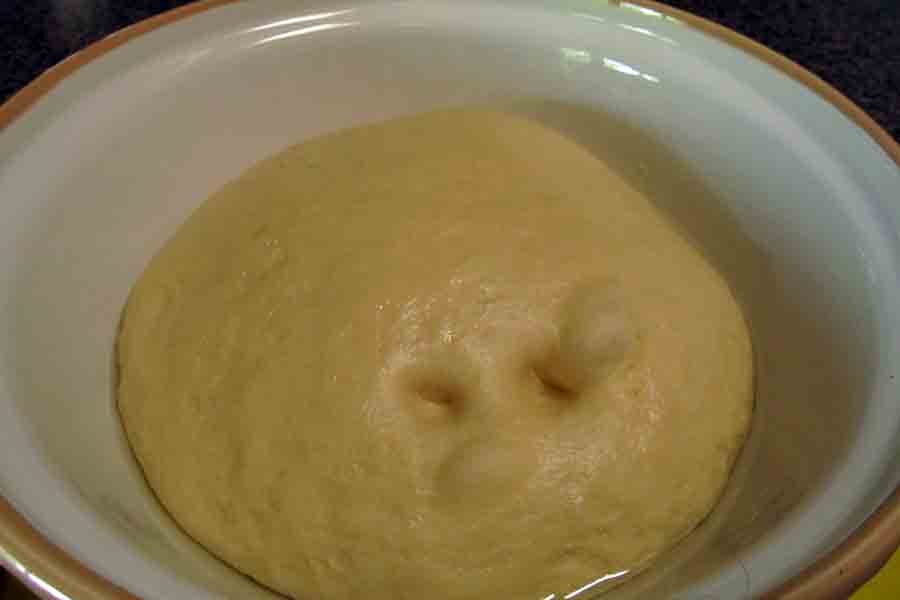
To know if it’s doubled in size you can do the fingertip test. Just press two fingers into the dough. Just quickly press in about 2 inches, then watch the dough. If it springs back quickly, it’s not doubled yet. If it springs back slowly and doesn’t fill the dimples back in all the way it’s perfect and ready to use. If it doesn’t spring back at all, you’ve over proofed it. If that’s the case, make your rolls promptly and set them in a cooler location for the second rise.
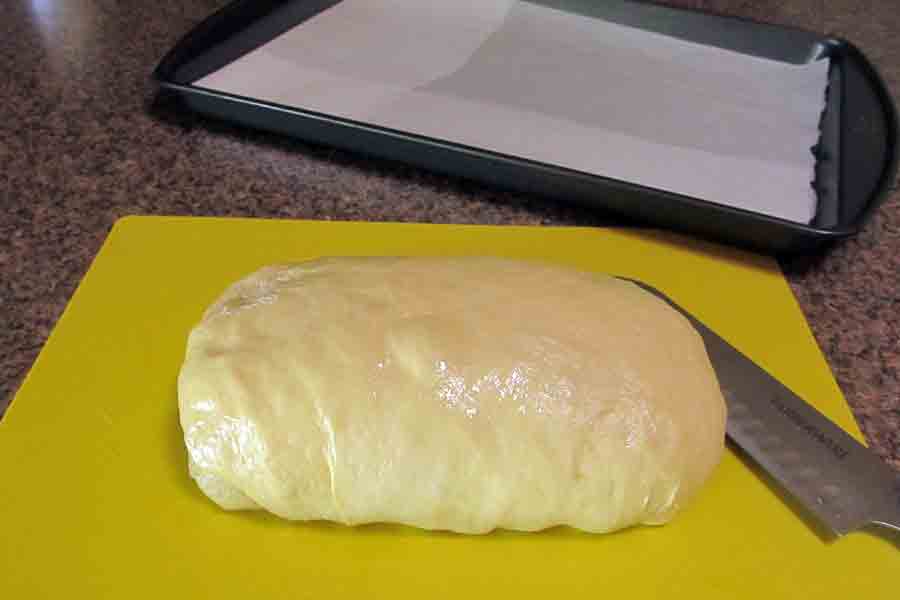
Once the dough is doubled, place it on a clean surface and gently shape it into a large loaf shape. You want it to be as even as possible with no tapered ends. Just be gentle as you shape so that you don’t knock all the air out of it.
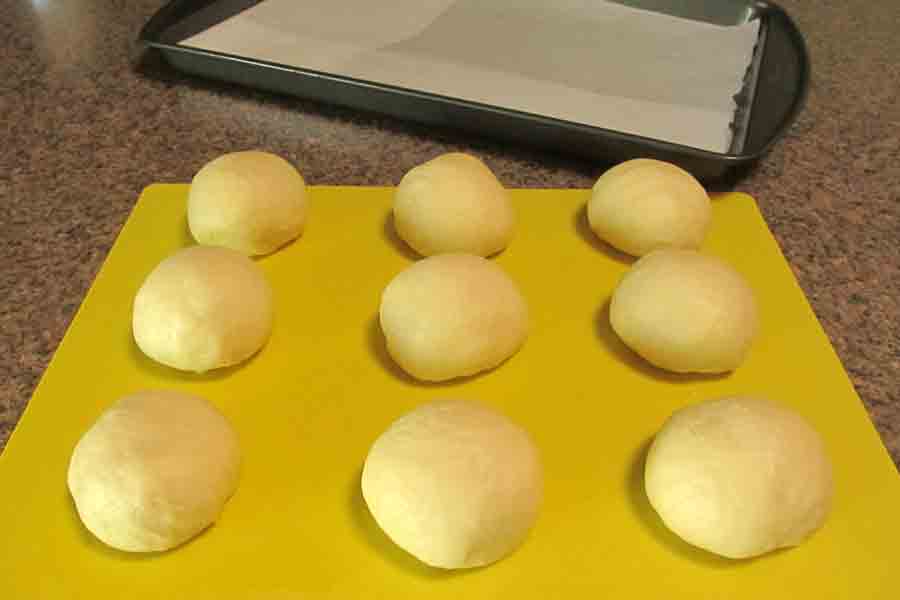
To make 8 large sandwich rolls (my personal preference, though Saturday I made nine so we’d have the perfect number left over for a picnic lunch this week!), cut the loaf in half crosswise, then cut each half in half again crosswise. The last cut is straight down the middle lengthwise to get evenly sized balls of dough. Shape them gently into balls, tucking any edges underneath, then set them on a parchment paper lined sheet pan.
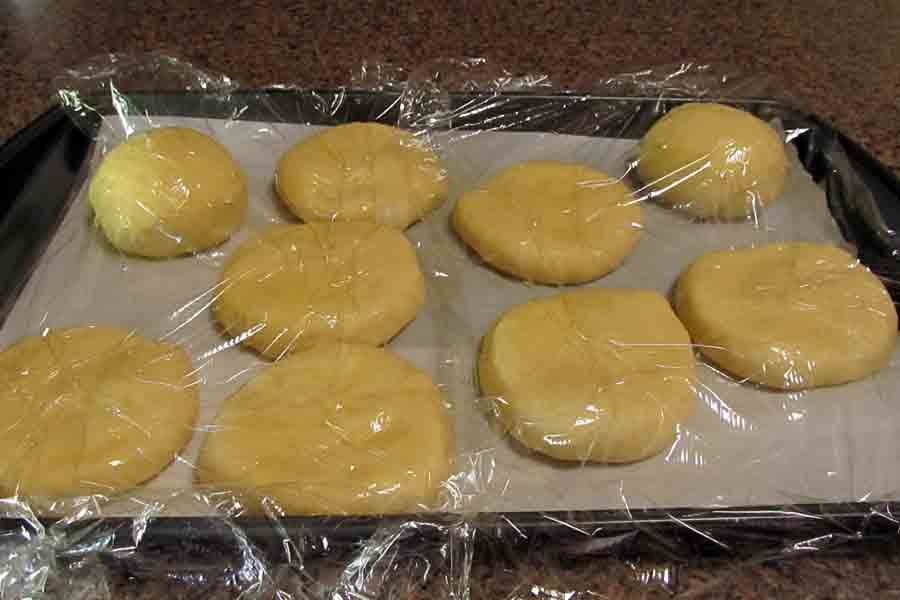
Once the dough balls are on the pan, lightly brush them with a little oil to keep them from sticking, then lay a sheet of plastic wrap over them. Let them rest for 20 minutes to relax the dough, then press down on the plastic wrap to flatten the balls slightly. You can see the flattened ones compared to the ones I haven’t touched yet in this picture.
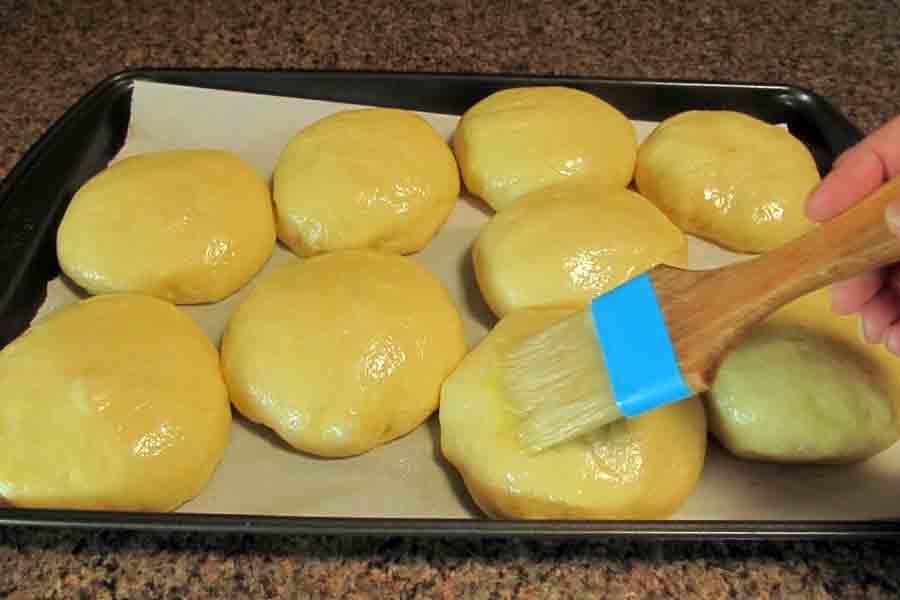
Now set the pan in a warm place for 1 1/2 hours to let them rise again. Remove the plastic wrap, then brush on a coat of egg wash. I like to do 2 coats of egg wash to get a pretty golden sheen on the tops of the buns when they bake.
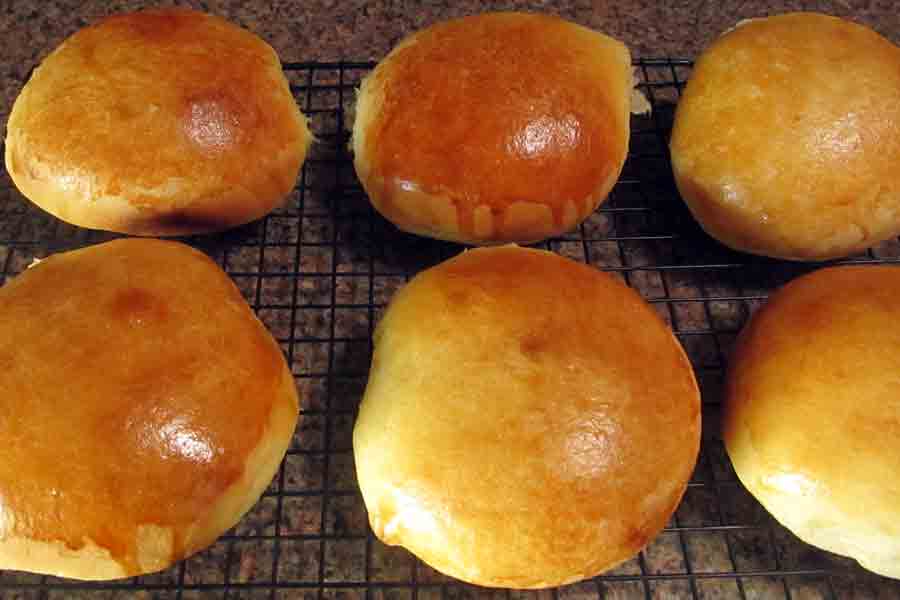
After the egg wash it’s time to pop them into a 400 degree oven for 15 – 20 minutes, then cool them on a rack.
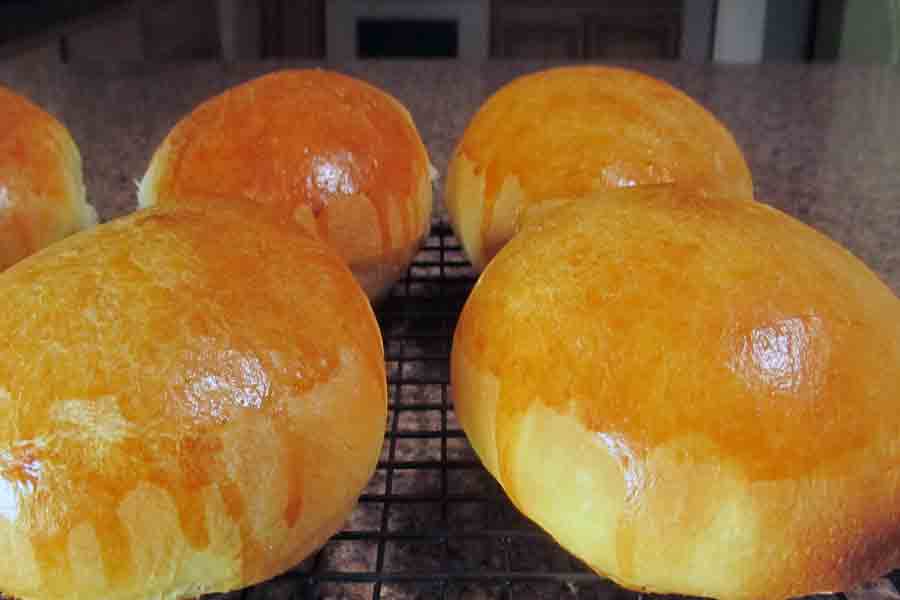
Aren’t they gorgeous? Ok, ok, so I didn’t get the egg wash around the sides of the buns, but that’s not the important part… the important part is the texture and taste – simply divine!
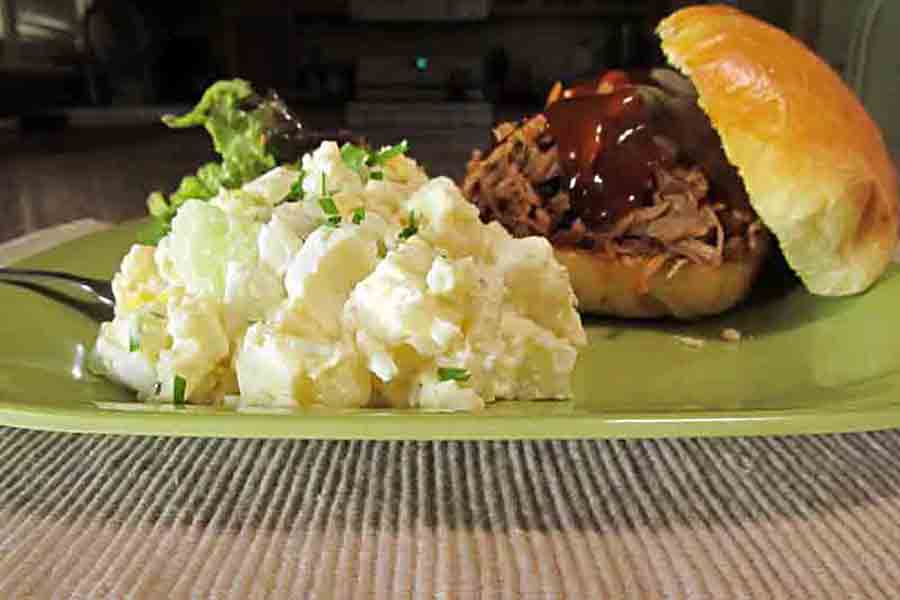
And here’s one of them filled to overflowing with my No-Mess Oven Roasted Pulled Pork and a side of my Secret Potato Salad that’s not actually a secret anymore.
Come on, I know you wanna make these soft homemade sandwich rolls, right? So why not make the whole meal – treat yourself – you’ll be glad you did!
Soft Homemade Sandwich Buns
Ingredients
- 4 1/4 cups bread flour
- 2 teaspoons yeast - rapid rise yeast is best for this recipe
- 1 1/2 teaspoon salt
- 3 tablespoons sugar
- 1/4 cup 4 tablespoons butter, softened
- 1 1/2 cups buttermilk or Whole Milk with 1 tsp. Vinegar added
- 1 egg
- 1 egg mixed with 1 teaspoon water for egg wash
- Poppy seeds - Optional
Instructions
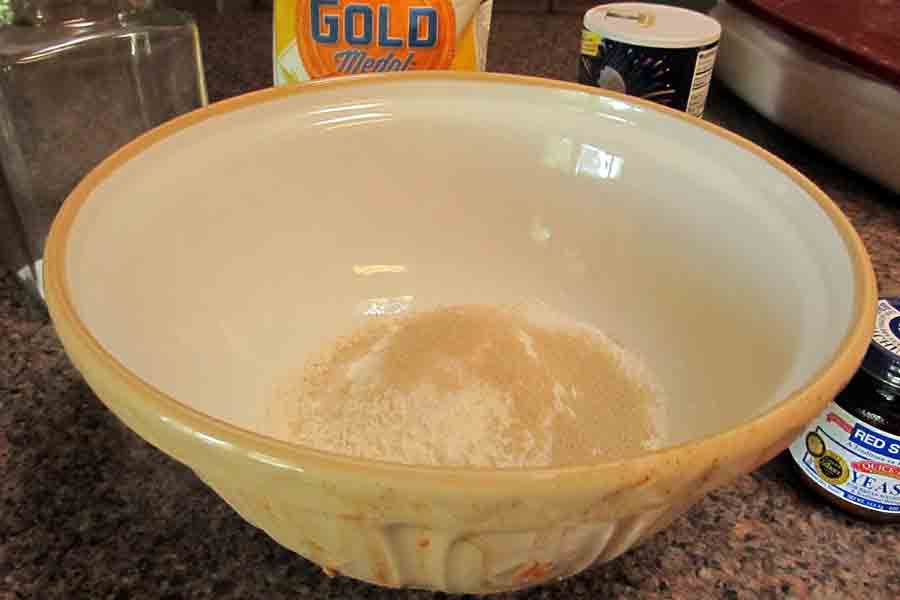
- Stir together the 2 cups of the flour with the salt, yeast, and sugar in a large mixing bowl.
- Add 1 egg, butter, and buttermilk or whole milk/vinegar mixture. Mix on low speed with a hand mixer until a smooth batter has formed, about 1 minute. Turn speed to high and continue beating for 3 minutes.
- Add the remaining 2 1/4 cups bread flour and stir by hand till a soft ball of dough has formed. Place the dough onto a lightly floured counter, then wash out the bowl and lightly oil it.
- Gently knead the dough on the counter for about 2 minutes or until it's soft and smooth.
- Place the dough into the oiled bowl, turning once to coat the top with oil. Cover the bowl with plastic wrap and place in a warm area. Let rise for about 2 hours, or until doubled in size.
- When the dough has risen, divide the dough into 8 equal portions. Gently roll the dough into balls. Don't overwork them at this point, you want a ball shape, but also want to keep the tight "skin" on the outside.
- Place the balls a baking sheet that has been lined with parchment paper. If you don't have parchment paper you can sift flour over the pan to keep the buns from sticking as they rise.
- Lightly brush the tops of the buns with oil then cover with plastic wrap for 20 minutes to let the balls of dough relax.
- After 20 minutes press the tops of the buns lightly with the palm of your hand to flatten out each ball. This keeps the buns from rising into a tall mound on top. You can leave the plastic wrap on top of the buns while you're pressing them down. They should be about 1/2" high and 4" wide when you're done.
- Let rise again for another 1 1/2 hours, or until they are puffed up and doubled in height.
- When doubled in size, preheat the oven to 400°F. Wihle the oven is heating, use a pastry brush to apply the egg wash. If you don't have a pastry brush you can dip a crumpled paper towel into the egg wash and use that to brush the tops of the buns.
- OPTIONAL: Sprinkle with poppy seeds.
- Bake for 15 – 20 minutes, or until the tops of the buns are a deep, golden brown.
- Cool on a rack for 10 minutes, then cover lightly with a clean tea towel until ready to serve.




This is by far the BEST bread. This bread stays soft for days!
Thanks so much Neilla! I do love this recipe, it’s so easy to make and the buns are perfectly soft every time.
Do you use the yolk of the egg in your egg wash or just the white?
Hi Alysia,
I use the egg yolk in the wash so that it gets a nice shiny look on top of the buns and keeps the tops soft as they cool.
I made these yesterday and boy they were a hit! First time I’ve used buttermilk in a yeast recipe. This will spoil us for soft buns from now on. I used half whole wheat and flax subbed for the egg (allergies), and it came out great.
Definitely a keeper!
If we over proofed the first time will they still turn out ok?
Hi Contessa! Yep, they will still turn out nice and soft even if they overproof on the first proof. Just be sure to set them in a cooler place for the second rise so that they don’t overproof again, you wouldn’t want them to fall and deflate in the oven, which is what happens if they overprove on the second rise.
If all else fails and they DO overproof on that second rise, don’t be afraid to just smush them down and let them rise a 3rd time, keeping a sharp eye on them since the 3rd time they will rise even faster.
These are very forgiving buns.
These came out great! I replaced the butter and milk with non dairy versions and added some vinegar. They still came out with a great texture. Something came up and I let the initial rise go over night. That seemed to work really well!