Know what I love best about Whatever Wednesdays? I love the fact that they are so flexible! They can handle it when life throws me a curve ball! They don’t get flustered when my heads hurt so badly and my asthma is so bad that I can’t even stand at the stove to make a simple Spaetzle dish for this blog! They don’t sulk and pout and feel slighted when I decide to substitute a recipe and some pics from months ago when I was obsessed with learning to make a true artisan boule!
Yep, I love Whatever Wednesdays – they are my friend!
So here’s the back story behind my simply simple boule… uh, bread adventures, ready?
My middle son and his wife were living in Italy for 3 years when she was sent to yet another country for work. My son was left home alone in Rome to fend for himself, which, in his mind, isn’t so bad since he builds guitars in a workshop in his home and tends to be more of a recluse than a social butterfly. There is a wee bit of a problem with him being on his own for so long though – being the lovely creative recluse that he is, he tends to forget the basics, like eating, cleaning and showering if you leave him too long to his own devices! Enter the good Momma. I made it my goal to spend every Saturday on Skype chats with him.
Enter the next problem. What do you talk about once the normal chit chat stuff runs out of steam? We started talking about food of course! And as soon as the subject of homemade sourdough breads, artisan breads and homemade cheeses came up we found that our Saturday’s on skype could fly by in a flash. There were actually weeks where we managed several days of long chats!
I hauled my laptop out to my kitchen and he did the same with his. We each bought good quality wireless headsets and we chatted as we each stood in our kitchens whipping up experimental sourdough breads, ciabatta’s (utter fail for both of us!), artisan boule using the no-knead method that’s so popular right now, and stirring huge pots of cheese curds, then pressing the cheeses and wrapping them to age them in our newly purchased cheese caves. Ohhhhh boy were we on a roll! My husband Tim was a happy happy man – hot fresh bread on a daily basis.
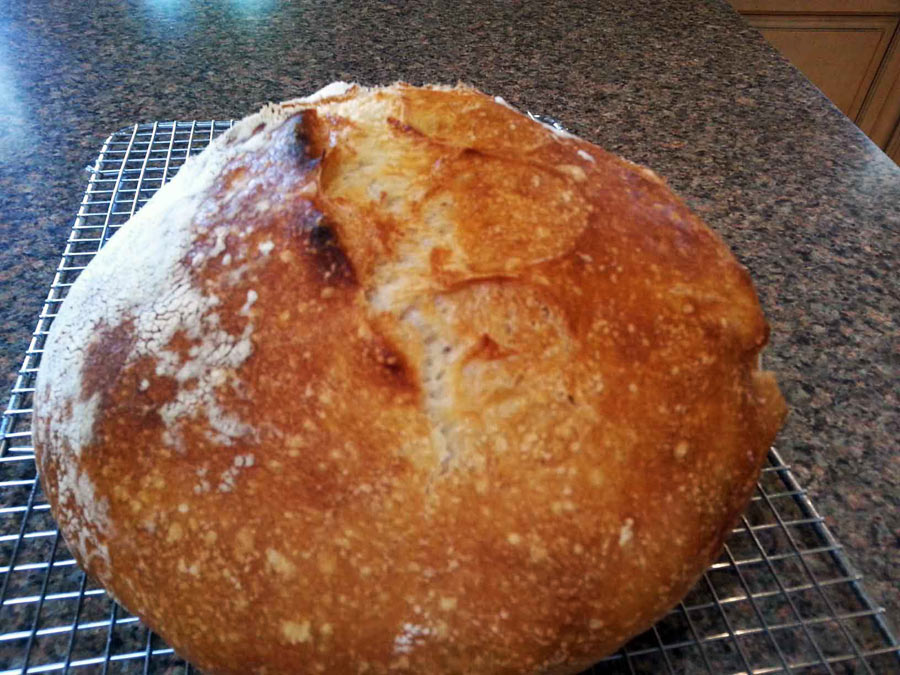
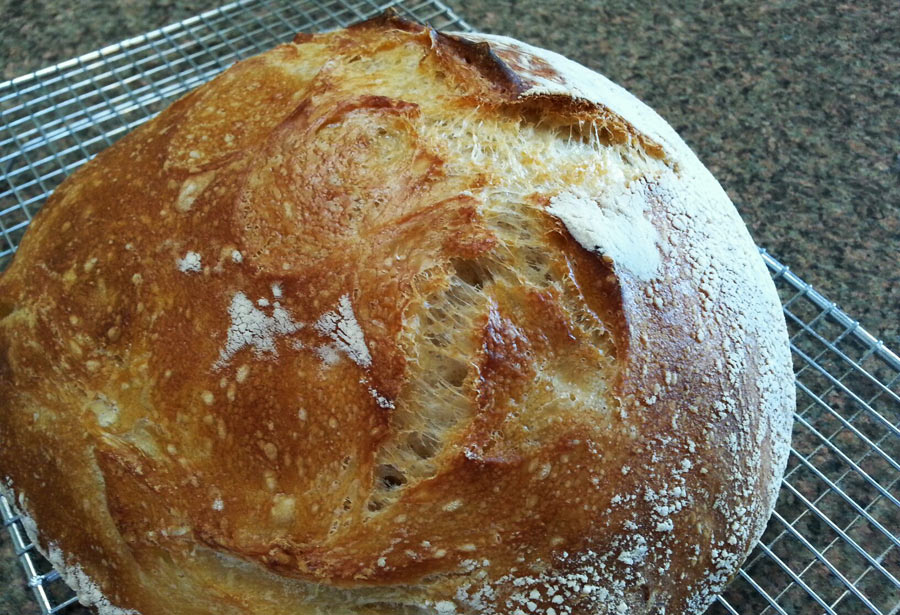
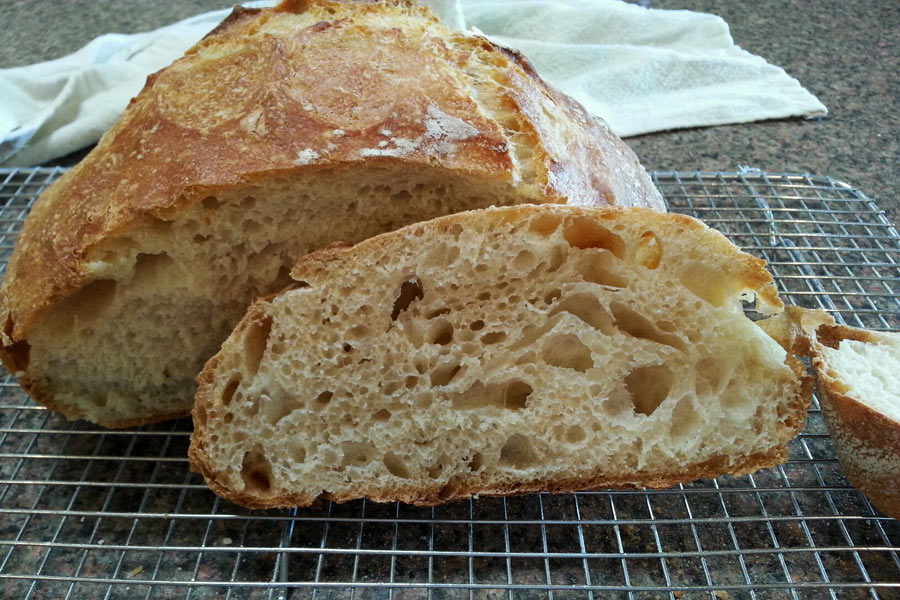
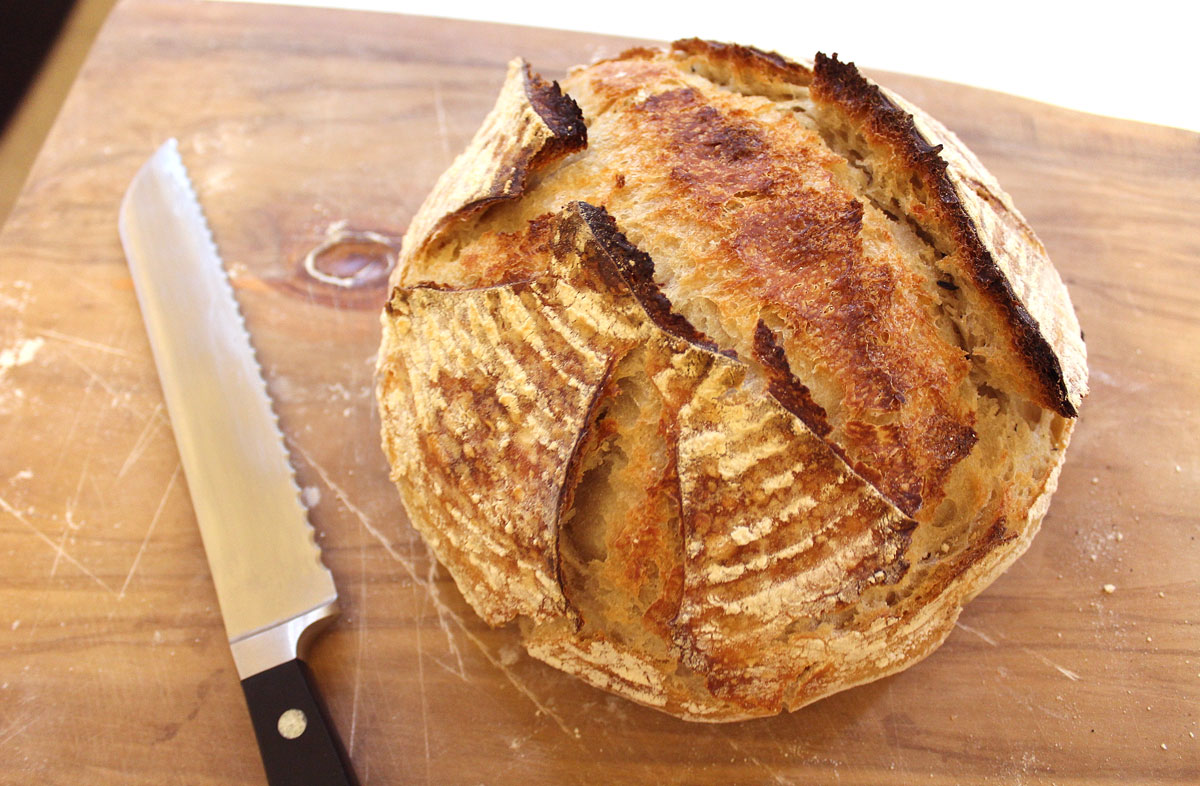
So the pictures I’m posting today were nearly all taken on our phone cameras and come in various sizes and quality. We also only rarely took pics of the actual bread making process, preferring to snap pics of the final products…ugh.
As we experimented and played with the recipes, the results got better and better. Oh and the sourdough starter got better and better too as it aged and fermented in the fridges!
Here are some of the pictures, and I’m posting both of our go-to recipes along with the basics of making a down and dirty sourdough starter. I’ll warn you now that I do NOT create my starter in the usual fashion! Nope, I work smarter not harder and if I can get fabulous results using shortcuts, then I’m all in. Trust me, my starter is lovely, forgiving, super sour and can last 6 weeks in the fridge without losing a single yeasty bubble.
The same goes for my simply simple boule… uh, bread! I want it simple. I want it as no-knead, no-fuss as possible and I call it a boule only to sound all fancy n stuff. It’s bread people, just plain old delicious, crusty bread!
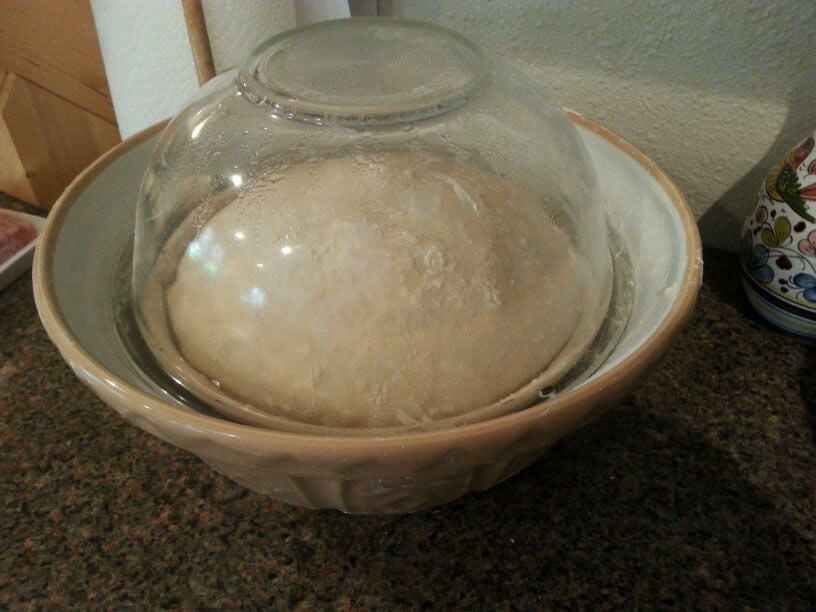
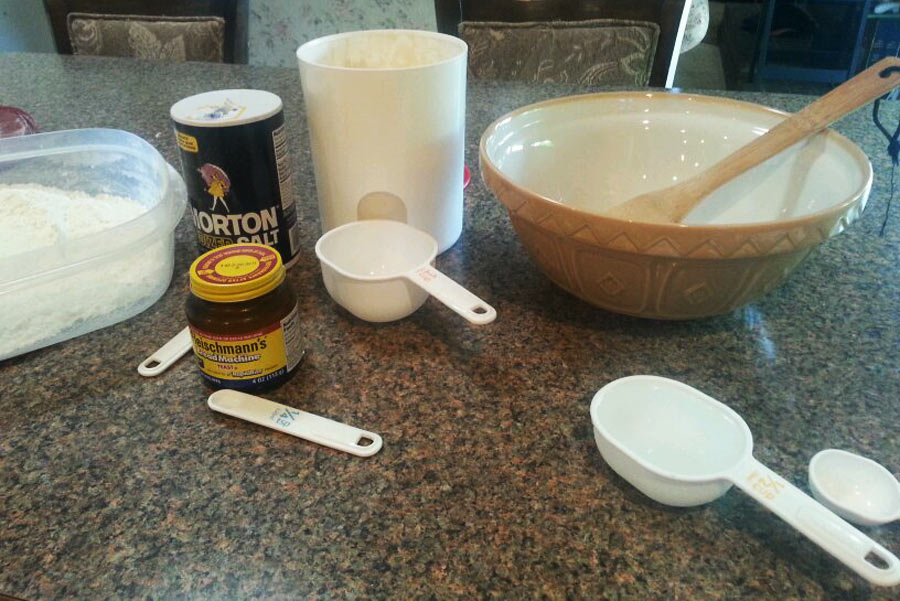
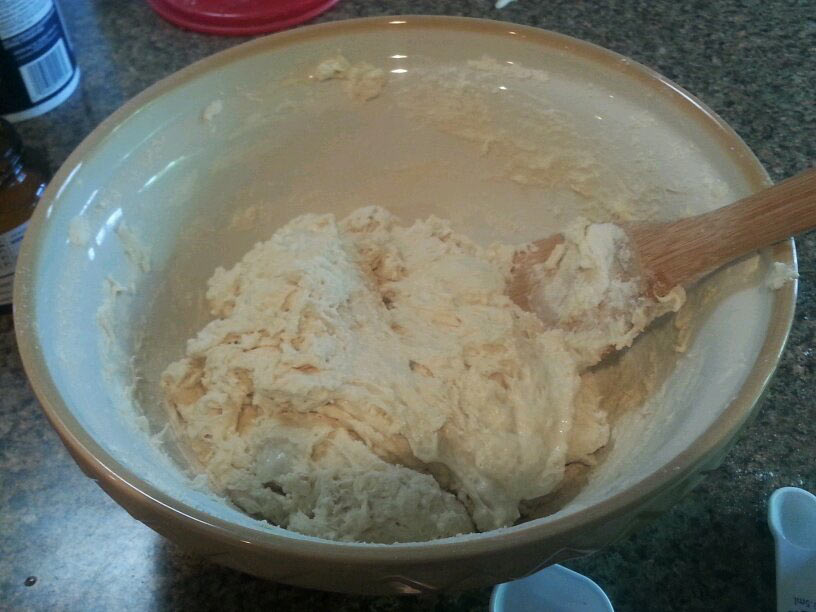
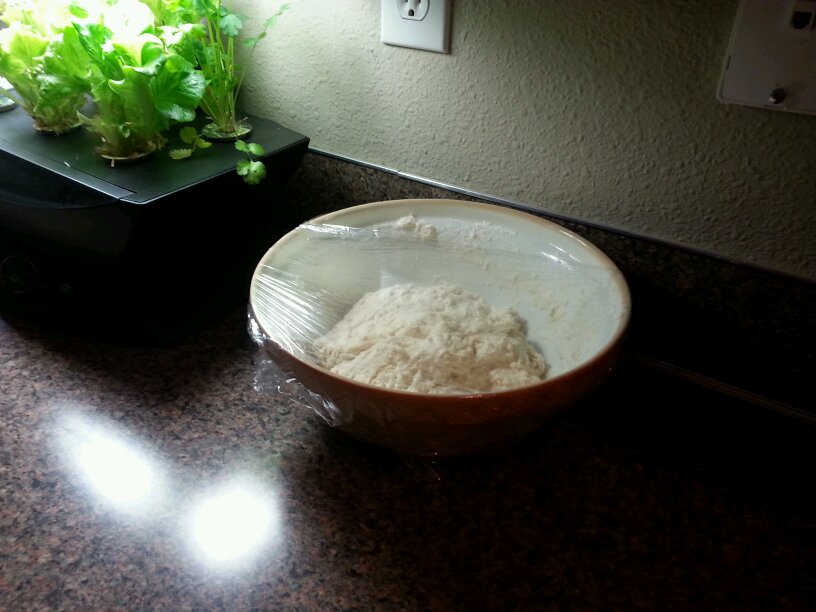
First up, the dependable no knead boule that’s floating around the internet:
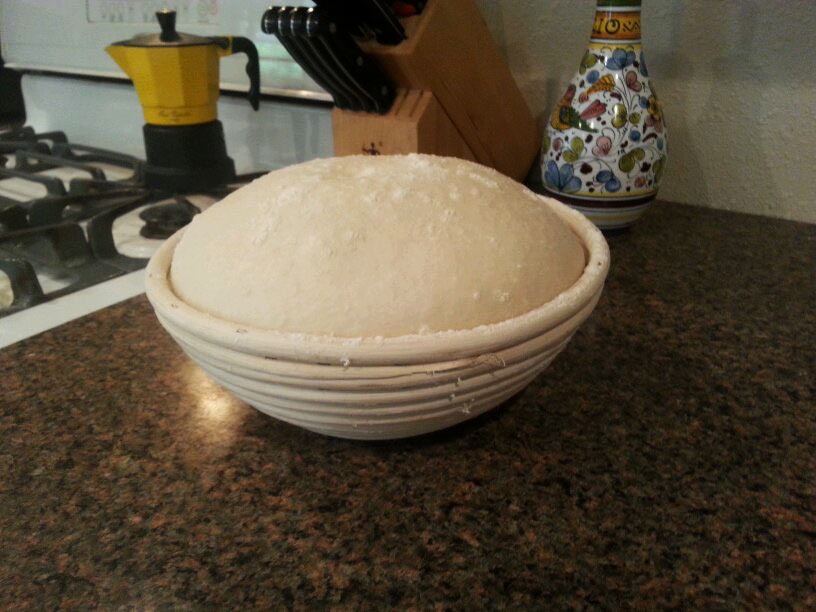
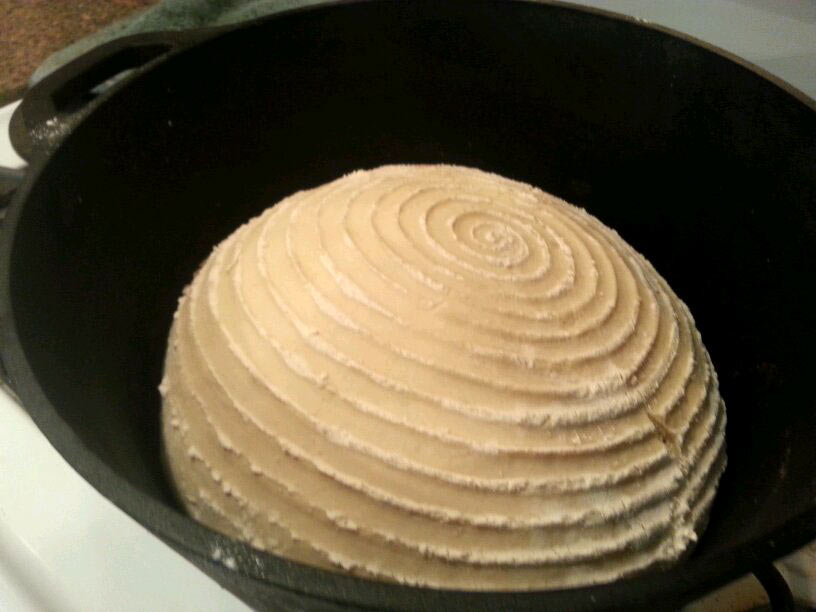
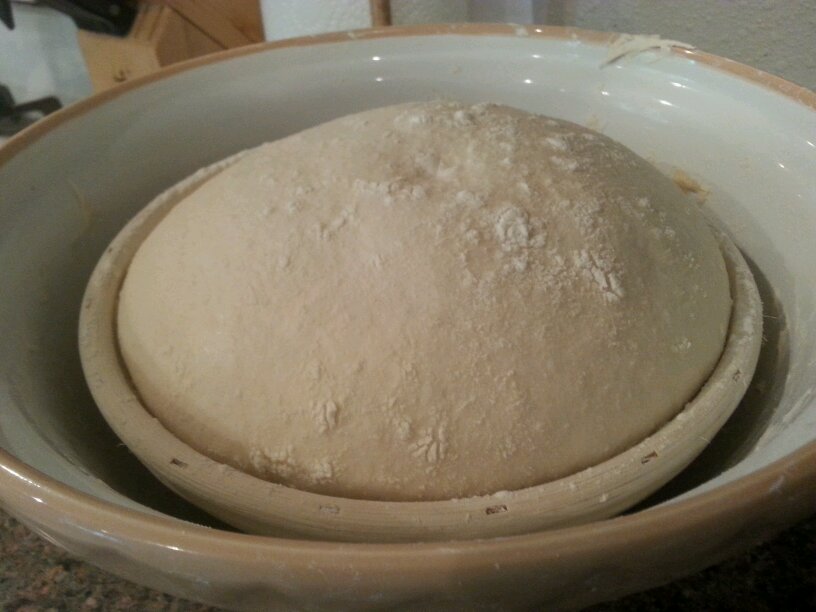
And my own little trick for being letting the dough proof in my banneton without having any plastic wrap sticking to it as it rises!
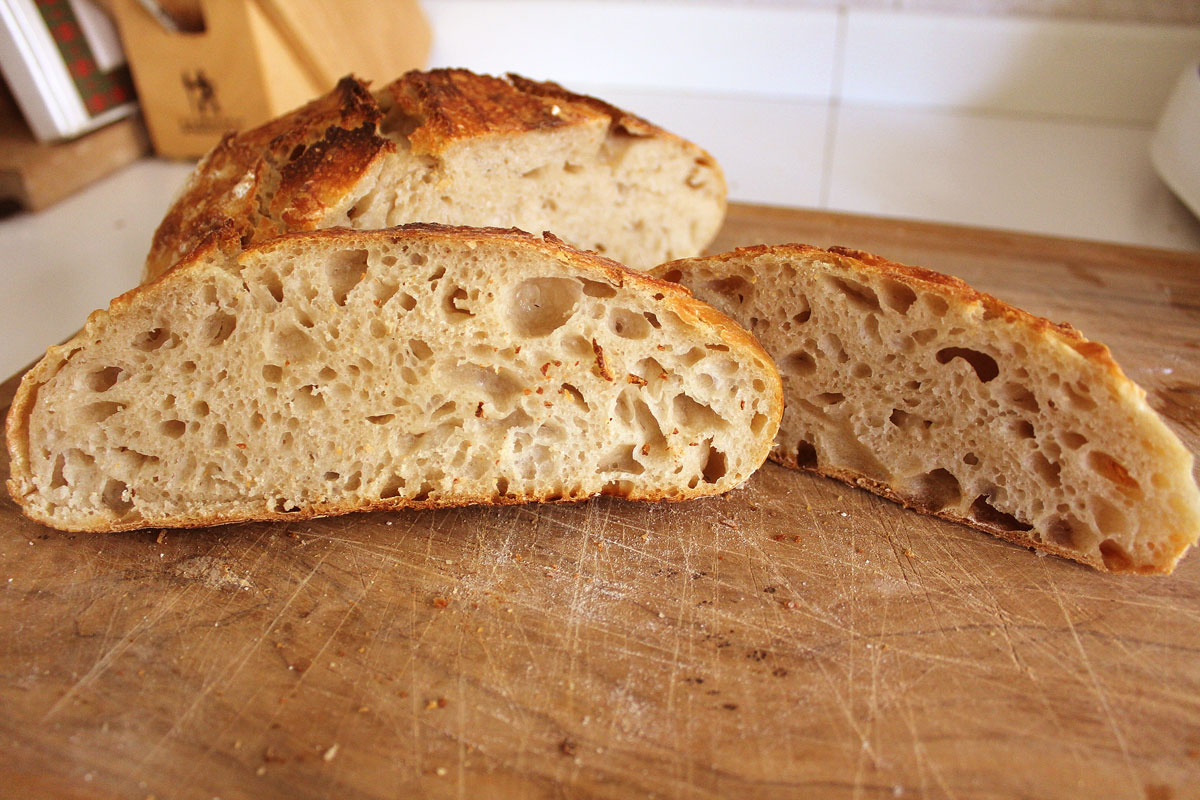
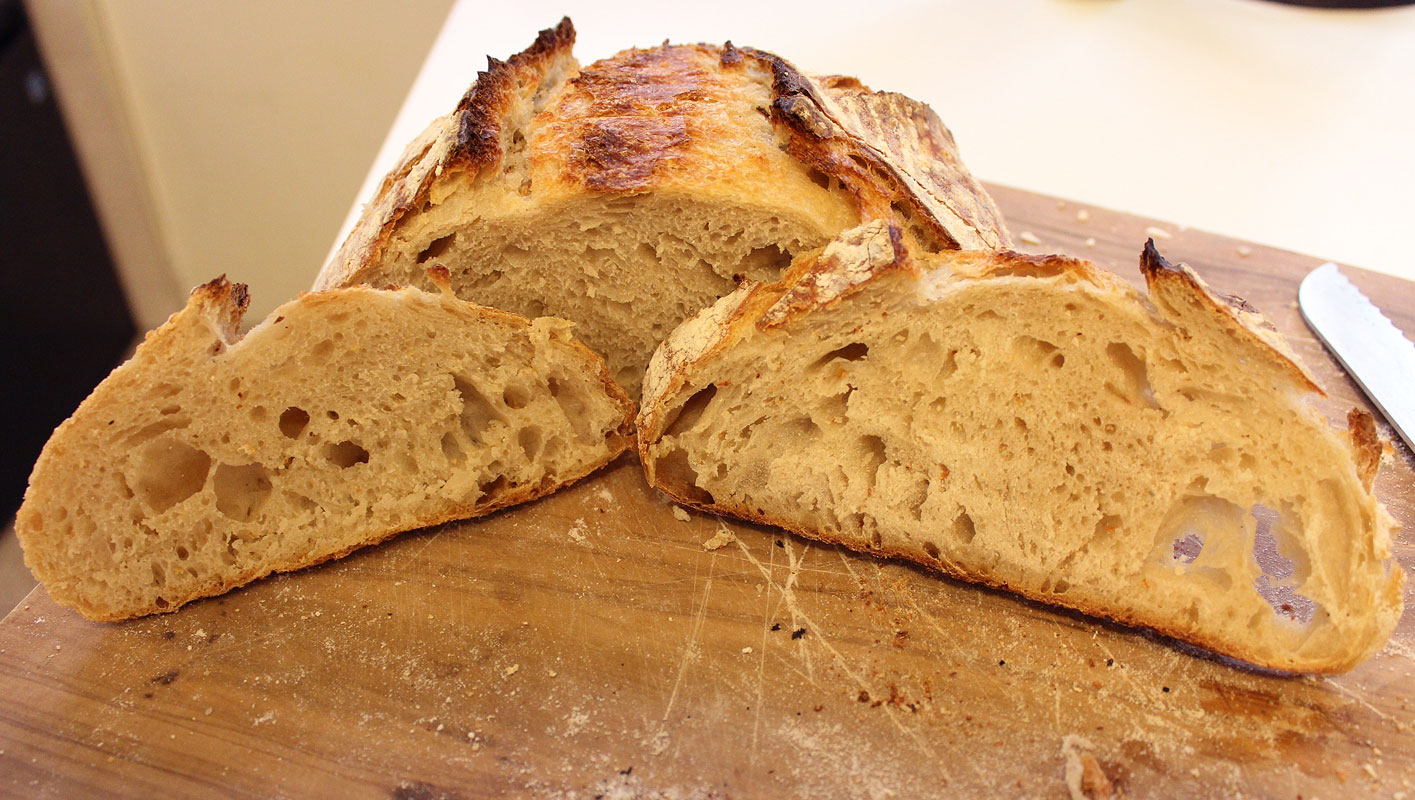
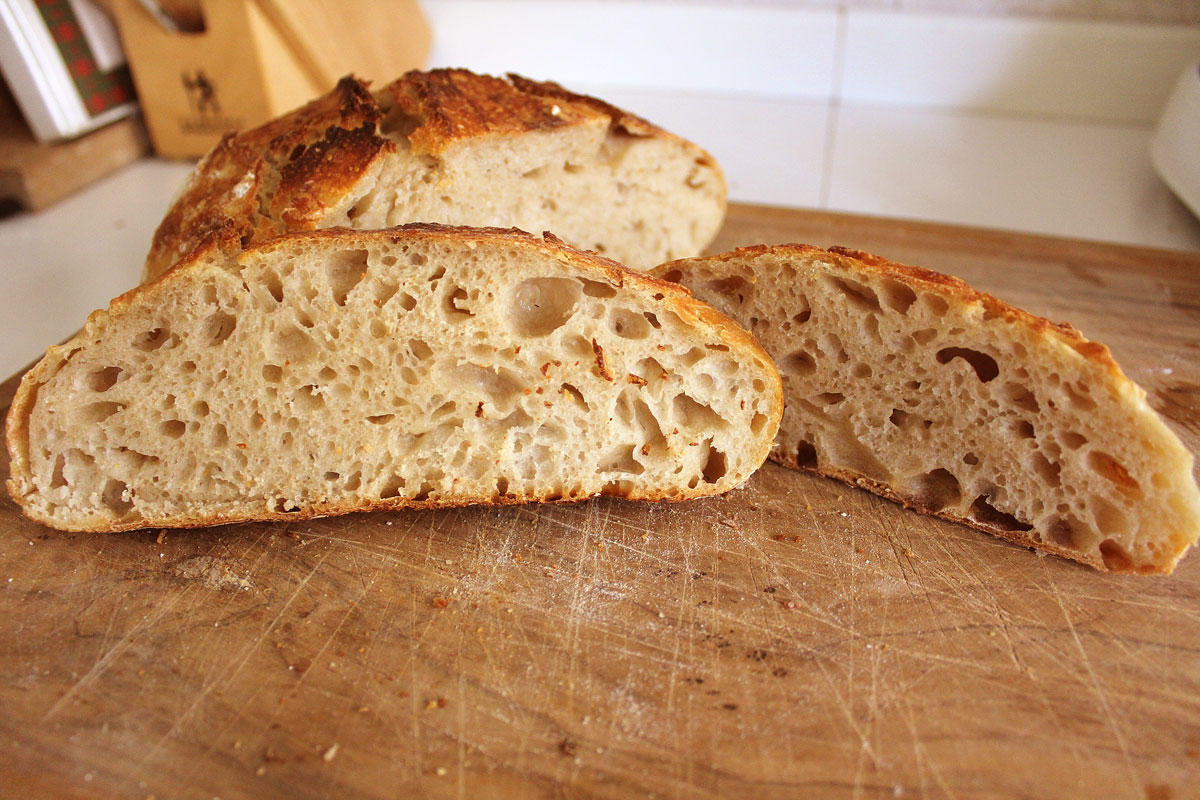
No pics of that final loaf of simply simple boule, but here are some of my other boules made with the same recipe:
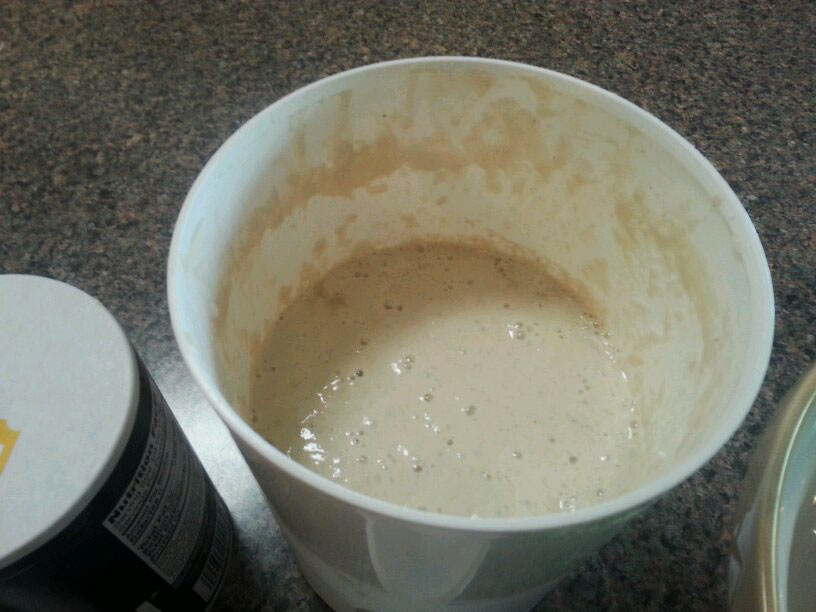
And here’s my one picture of my sourdough starter in it’s little tub. See how wonderfully bubbly it is right out of the fridge?
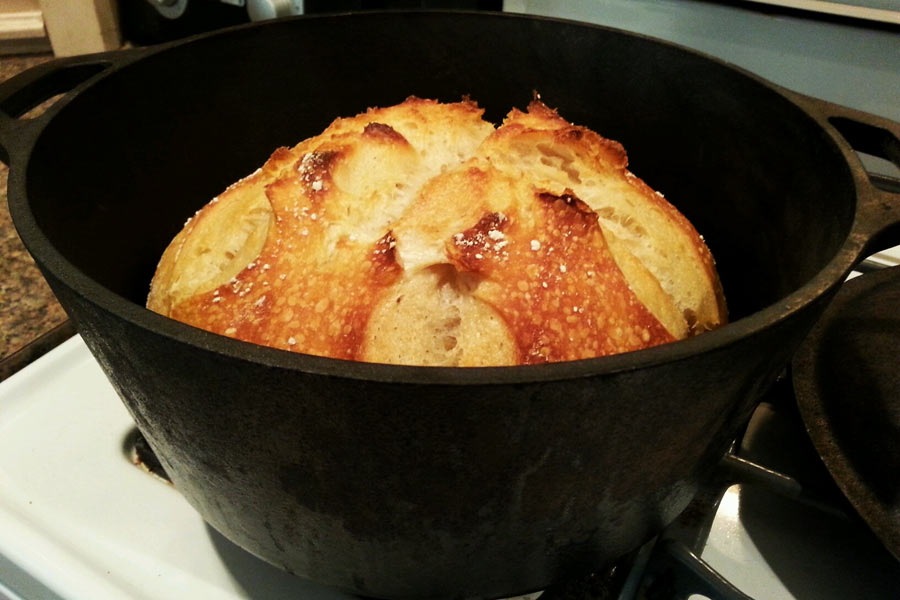
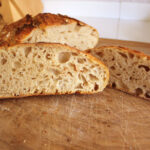
And the final product! These pics are all ones from my son’s kitchen:
So now that I’ve got everyone wanting some warm from the oven simply simple boule, here are the recipes. Oh wait, first you need an explanation of my sourdough starter and how to make it!
The Sourdough Starter:
Standard practice is to put equal amounts of a good flour (rye is popular these days) and distilled water into a large container. Stir it well, cover it lightly with something that can breathe, like a coffee filter or tea towel, and then let it sit for 24 hours. Next day, remove half of it, then replenish it with equal parts flour and distilled water. Keep doing that for as many days as it takes for the starter to start bubbling, then continue doing that for several more days to let it get that lovely sour taste that makes sourdough bread yummy.
Been there, done that, got the tee! And now here’s my own much faster, super tasty version. I made them side by side and compared the flavors, etc. And no, capturing “wild yeast” and cultivating it for months doesn’t result in a better flavor! Don’t believe me? Try the experiment for yourself.
For my starter, I simply used 1 cup of all purpose flour, 1 cup of tap water, 1/2 teaspoon of yeast and 1 teaspoon of sugar. The next day I didn’t scoop any out, I simply added another cup of flour and water, stirred well and left it alone. On the third day I scooped out half and threw it away, then added 1 cup each of flour and tap water. By the third day it was VERY bubbly and active. Not sour yet though, so I continued with the process for another 4 days. At the one week point it was nicely sour, so I used it to make bread, replenished the amount I’d removed for the recipe and then covered it tightly and tossed it into the fridge.
Once a week I pull it out, use some for bread making, replenish what I used with equal parts water and flour, then put it back in the fridge.
I don’t reactivate it before using it! Right from the fridge to the mixing bowl! If I’m using straight starter as my leavening component, the bread will take a bit longer to proof… more like 5 hours for the first rise and then 2 hours for the second. So if I’m in a hurry, I add 1/2 teaspoon of yeast to the dough.
This past summer I needed to make it a bit more sturdy and forgiving since it was too hot to bake, so I scooped out half of my starter and replaced it with 1/2 cup water and 2 cups flour. That made it super thick, almost a biscuit dough consistency and after 6 weeks in the fridge, it came out just as active and bubbly as ever. I just stirred it well to mix the hooch into the starter, then used 1/2 cup to make the boule that I’ll be featuring on Friday’s blog recipe. Oh and I should mention that at this point it’s extremely sour and lovely! I don’t dare do an overnight proof in the fridge with it anymore because the bread gets so sour that Tim makes his pucker face when he eats it.
On to the recipes:
Simply Simple Boule... uh, Bread!
Ingredients
- 2 Cups Tap Water
- 1/2 Teaspoon Instant Yeast
- 4 - 4 1/2 Cups Bread Flour
- 2 Teaspoons Salt
Instructions
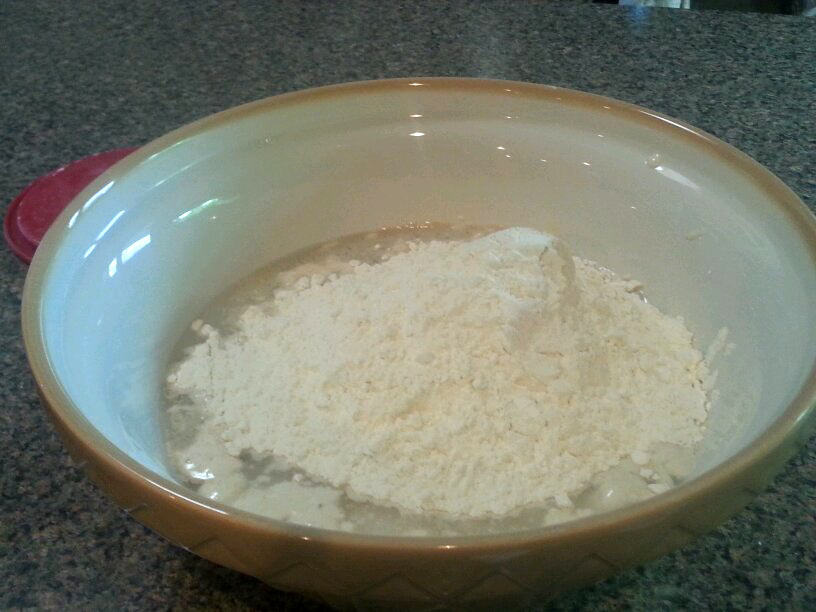
- Add tap water and yeast to a large mixing bowl. Add 4 cups of the flour to the bowl, then sprinkle the salt on top of the flour before stirring everything together.
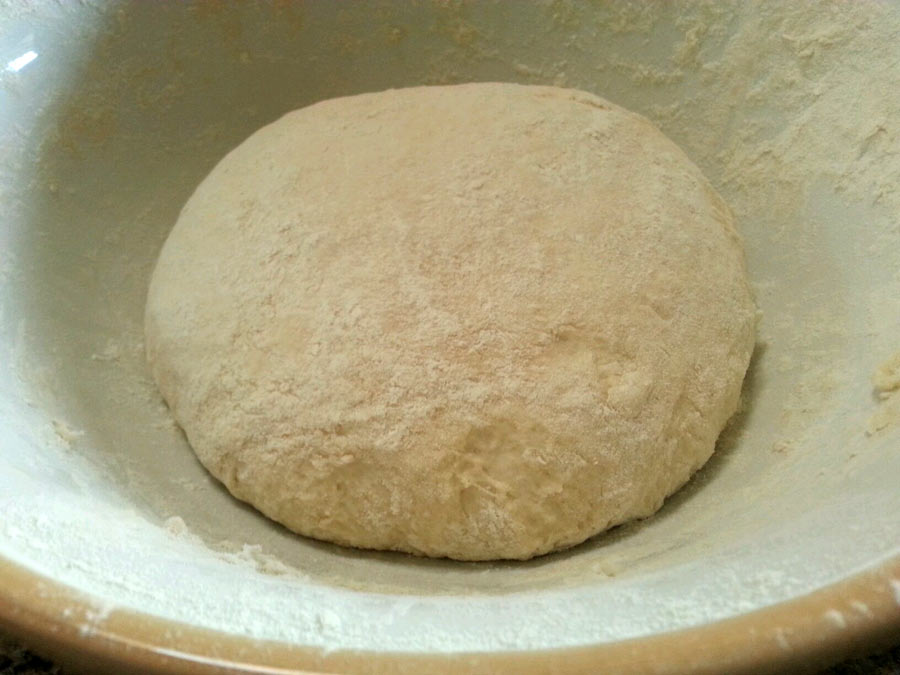
- The dough will be very sticky. If it's too loose and looks more like batter than a sticky dough, add the extra 1/2 cup of flour, then stir again.
- Scrape down the sides of the bowl, then cover with plastic wrap and set in a warm place overnight.
- The next morning, turn the dough out onto a lightly floured surface. This is where you will create a nice "skin" on the outer surface of the dough.
- Using floured hands, gently cup them around the back of the dough blob. Now pull the dough towards you across about 10" of the counter.
- Set the dough back onto the floured area of the counter, cup your hands at the back and repeat the gentle pulling motion twice more.
- You will see a taut skin forming on the surface of the dough. You can do the pulling motion up to 5 times, but stop as soon as you see it getting taut. That means it's done and ready for the final proof!
- Place the ball of dough onto a well floured tea towel, or into a well floured banneton, then cover loosely with plastic wrap,
- If you will be baking your bread in the morning, let the dough proof for one hour, then proceed with the baking process.
- If you will be baking your bread that evening, place the banetton or tea towel into a bowl, cover with plastic wrap and set it into the fridge. In the evening, remove the dough from the fridge, then proceed with the baking instructions.
- To Bake:
- Place a covered, oven proof dutch oven on the middle rack of the oven.
- Preheat the oven to 450F for 30 minutes to allow the dutch oven to get to temperature.
- After 30 minutes, remove the dutch oven and carefully remove the lid. Working quickly, dump the dough into the pot as gently as possible. You can slash the top at this point if you wish.
- Replace the lid and place the dutch oven back into the oven.
- Turn the heat down to 430F. Cook for 30 minutes, then remove the top, turn the heat to 425F and continue baking for another 15 minutes.
- Carefully turn the boule out onto a baking rack, then allow it to cool for at least 30 minutes before slicing. The bread continues to cook as it cools!
Notes
A high protein content flour is important with this recipe as it allows the dough to create long gluten strands during the overnight proofing. King Arthur Bread Flour is excellent for this bread.
The amount of flour you will need to use to create a soft, sticky dough will depend upon how you scoop your flour. Each person has their own method which can result in wide variances in the actual amount of flour contained in "one cup". With practice you'll quickly learn by sight when your dough has the proper proportion of flour to water to create the perfect boule.
Simply Sourdough Boule... uh, Bread!
Ingredients
- 1 Cup Sourdough Starter
- 1 1/2 Cups Warm Tap Water about 100 degrees
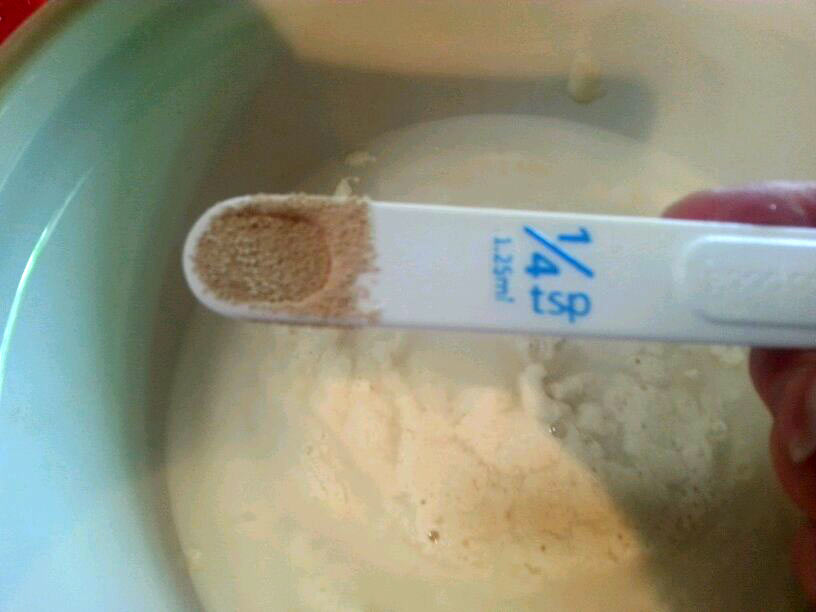
- 1/4 teaspoon Yeast
- 4 - 4 1/2 Cups Bread Flour
- 2 teaspoons Salt
Instructions
- Add the sourdough starter to the bowl, then add the warm water and yeast. Stir well and allow it to sit for 10 minutes. The starter can be used right from the fridge.
- After 10 minutes, add the flour, then sprinkle on the salt and stir well.
- The dough should be soft and sticky. Add more flour if needed to create a sticky dough ball.
- Scrape down the sides of the bowl, then cover with plastic wrap and set in a warm place overnight.
- The next morning, turn the dough out onto a lightly floured surface. This is where you will create a nice "skin" on the outer surface of the dough.
- Using floured hands, gently cup them around the back of the dough blob. Now pull the dough towards you across about 10" of the counter.
- Set the dough back onto the floured area of the counter, cup your hands at the back and repeat the gentle pulling motion twice more.
- You will see a taut skin forming on the surface of the dough. You can do the pulling motion up to 5 times, but stop as soon as you see it getting taut. That means it's done and ready for the final proof!
- Place the ball of dough onto a well floured tea towel, or into a well floured banneton, then cover loosely with plastic wrap,
- If you will be baking your bread in the morning, let the dough proof for two hours, then proceed with the baking process.
- If you will be baking your bread that evening, place the banetton or tea towel into a bowl, cover with plastic wrap and set it into the fridge. In the evening, remove the dough from the fridge, then proceed with the baking instructions.
- To Bake:
- Place a covered, oven proof dutch oven on the middle rack of the oven.
- Preheat the oven to 450F for 30 minutes to allow the dutch oven to get to temperature.
- After 30 minutes, remove the dutch oven and carefully remove the lid. Working quickly, dump the dough into the pot as gently as possible. You can slash the top at this point if you wish.
- Replace the lid and place the dutch oven back into the oven.
- Turn the heat down to 430F. Cook for 30 minutes, then remove the top, turn the heat to 425F and continue baking for another 15 minutes.
- Carefully turn the boule out onto a baking rack, then allow it to cool for at least 30 minutes before slicing. The bread continues to cook as it cools!



I have been trying to perfect a sough dough loaf and I have seen many different recipes for just that; sometimes it comes out great but not always; I will now try yours and see what happens as I was tasked to make 2 loaves for Christmas;
After starting to bake my own I can’t seem to enjoy store made bread; it tastes somehow soar and it becomes mushy in my mouth.
I am hoping this time I will have more success; will let you know.
Cheers
Hi Tula! How did your bread turn out? I’m dying to know!
I’m spoiled on fresh homemade bread too and haven’t purchased a store bought loaf in years. My husband even got into the whole bread making process and now makes us a weekly loaf of 7 grain bread – so dark, so moist, so delicious!