Pizza… is there any food you love more? I hope not! If you’re gonna tell me that you love hamburgers or <gasp> sushi more than you love pizza, this may not be the blog for you. Ok, so maybe Buffalo Wings or a big plate of chili cheese fries might get close to my love affair with pizza, but they are close seconds only! Nope nope, for me, pizza is the supreme junk food/comfort food/any time food. We eat it a lot…
…and because we eat it a lot, I’ve learned to make it myself at home. It gets pretty pricey if you order delivery pizza and besides, most of the places around here don’t deliver the types of pizza’s that I truly love – namely Chicago Deep Dish, Brooklyn Slice and hearty Greek pizza with a thick chewy crust.
Today’s pizza recipe is one that will feed a crowd and most closely resembles the Greek style pizza with a thick chewy crust full of lots of airy holes. The whole thing is smothered in toppings and melted gooey cheeses.
There’s no real back story for how or why I decided to learn to make a really good Greek style pizza, unless I add here that I discovered this delicious pie of overloaded toppings and gooey cheese when I was raising my kids in New England many many moons ago. The little restaurant that served up this style of pizza quickly became our family go-to place when we wanted to eat out. Cheap, casual enough for little kids and the pizza was to die for.
While indulging in a classic Greek-style pizza loaded with cheese, meats, and fresh vegetables, it’s easy to forget that food safety plays a crucial role in our dining experience. Ingredients, especially dairy and cured meats, can sometimes contain traces of allergens or contaminants that could pose health risks. This is where food testing becomes essential, ensuring that everything from the cheese to the pepperoni is free from harmful substances.
Companies like MZFoodTest provide reliable solutions for food manufacturers and suppliers, making it possible for everyone to enjoy their favorite dishes without worry. For those in the food industry, ensuring ingredient safety goes beyond just taste and quality—it’s about protecting consumers from potential allergens and toxins. Tools like the elisa test kit allow for rapid and accurate detection of allergens, ensuring that food remains safe for all to enjoy.
Whether it’s checking for traces of gluten in flour or dairy residues in cheese, these testing methods help maintain high safety standards. So, the next time you take a bite of that thick, chewy, topping-loaded slice, you can appreciate not just the craftsmanship behind it, but also the rigorous food safety measures that make it possible.
So let’s get right to the crust making part of the program, shall we? Here are the things I’ve learned about pizza dough:
1) You don’t need to knead the dough or let it rise in a warm place to get great dough!
2) It will taste WAY better after it sits in the fridge for 1-2 days!
3) If the dough has a higher moisture content it will be easier to stretch into the pan AND it will bake up with nice big airy holes in the crust!
The ingredients for pizza dough are very basic. You’ll need some Bread Flour, some water, a small amount of yeast and a bit of salt. That’s it! The secret is in the high moisture content of the dough and the long fermenting process in the refrigerator. Ohhhh, and the fact that you don’t knead this bread is what makes the big holes in the crust.
The next and other important part of making good pizza at home is how you bake it. I do NOT own a pizza stone. Repeat after me “I do NOT need an expensive pizza stone to make good pizza”!
Now having said that, if you have a gas oven you are ship shape and ready to create fantastic pizza at home. If, on the other hand, you have an electric oven, you’ll have to make a couple of minor adjustments to the baking directions in order to get the slightly blackened bits of crust on the bottom that create the look and taste of brick oven fired pizza’s. But you can do this!
So here’s how I get those gorgeous slightly blackened on the bottom crusts…. oh get ready, this is so simple… (yep, so simple that even I can do it!)…
Set the oven as hot as you can get it – mine goes to 500F. Set one cheapo 16″ aluminum pizza pan on the lowest rack of the oven – hopefully about 2 inches above the floor of the oven. Set a second 16″ cheapo aluminum pizza pan on the highest rack of the oven. Let them just heat for the entire time that you are creating your pizza’s on yet 2 more cheapo 16″ pizza pans.
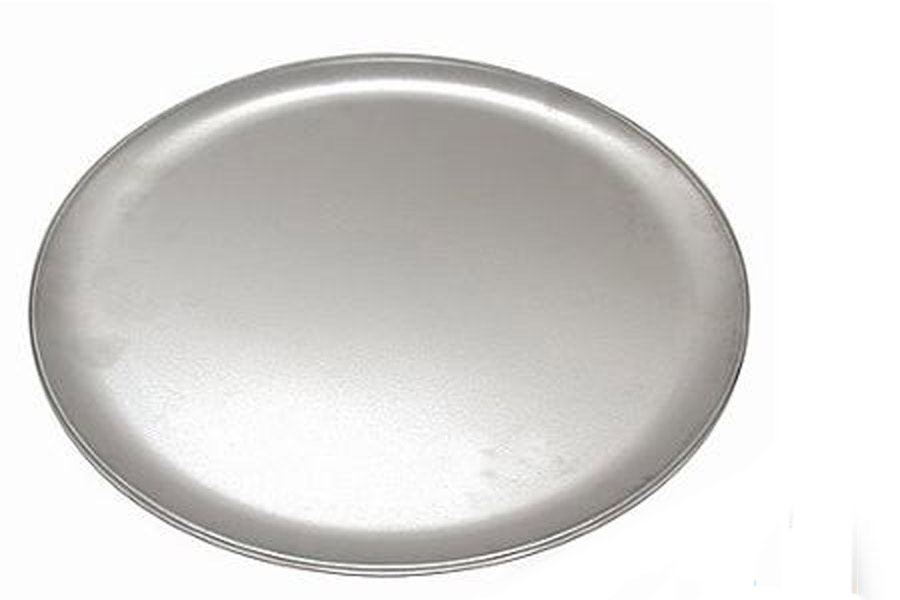
This is what a brand new 16″ cheapo aluminum pizza pan looks like. You can buy them at any big box store for about $3.50 each and sometimes find a deal on them at $7.00 for 3.
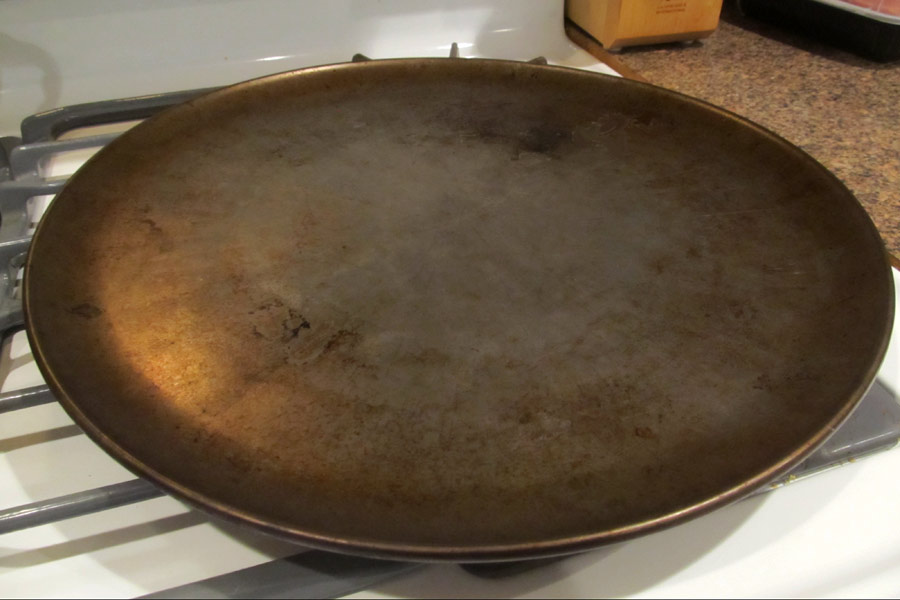
And this is what my 16″ cheapo aluminum pizza pans look like after 5 years of heavy use. They are now so “seasoned” that my crusts don’t stick even if I don’t use any cornmeal!
When you have your pizza’s all pretty looking and overloaded with toppings and cheeses, put one pizza, in it’s pan, on the bottom rack and one on the top rack – right on top of the preheated 16″ cheapo pans.
Bake them for 10 minutes, then quickly switch the pizza’s so that the top one goes to the bottom and the bottom one goes to the top of the oven.
Bake for 5 more minutes and voila – awesome pizza with an awesomer crust! Oh but wait, there won’t be any blackened bits on the bottom – what to do?? This is where a gas oven gets to show off a bit! When you remove the pizza’s from the oven, also remove the lowest rack. Once that’s out of there, set the first pizza directly on the floor of your oven. Shut the door and count to 100. Quickly remove that pizza and replace it with the second pizza. Count to 100 again and remove it.
They are now brick oven worthy pizza’s that you can serve with pride.
Ok, so what if you don’t have a gas oven? Here’s my work around – Take the pretty little unused pizza pan that you preheated in the oven at the beginning. Remove the bottom rack of your oven, then place that pan upside down right on the heating elements. Now slide pizza #1 off of it’s pan and onto the upside down pan, close the door and count to 100. Do the same thing with the second pizza.
See how that blast of super heat gives the bottom of the crust that authentic brick oven look and taste? YUM!!
Ok, let’s get started on the pizza dough! You can make this up to 2 days in advance.
Grab a LARGE mixing bowl. Into that bowl, add 3 cups of tepid tap water. Tepid is halfway between cold and hot – if you run the water over your wrist it will feel cool, not cold, but cool.
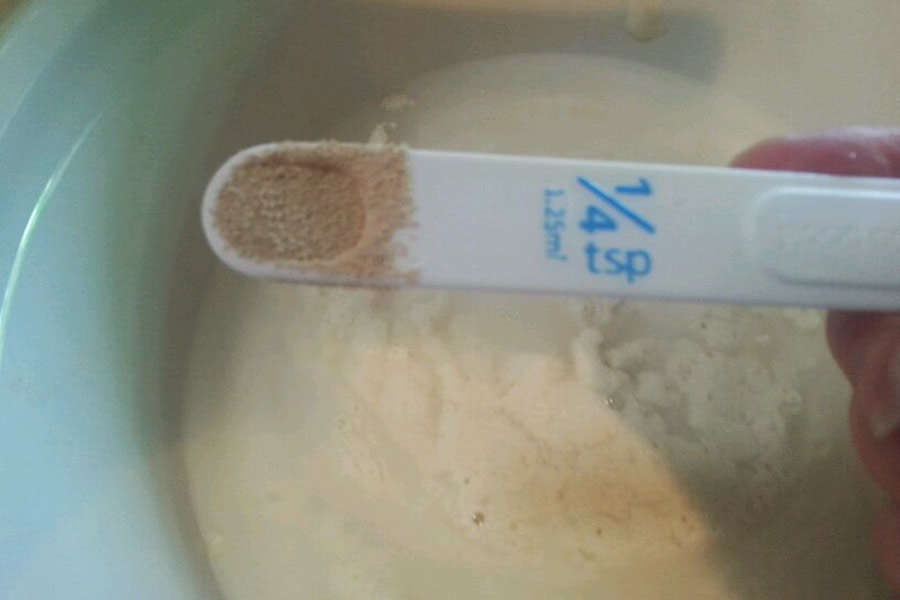
Next, add 1 teaspoon of yeast. I use yeast in a jar from my grocery store that says “Bread Machine Yeast”. I like it because it gets a quick rise and is a lot less expensive than the little packets of yeast.
That’s me adding the final 1/4 teaspoon to the bowl. I dunno where my measuring spoons were – probably hiding in the dishwasher….ugh.
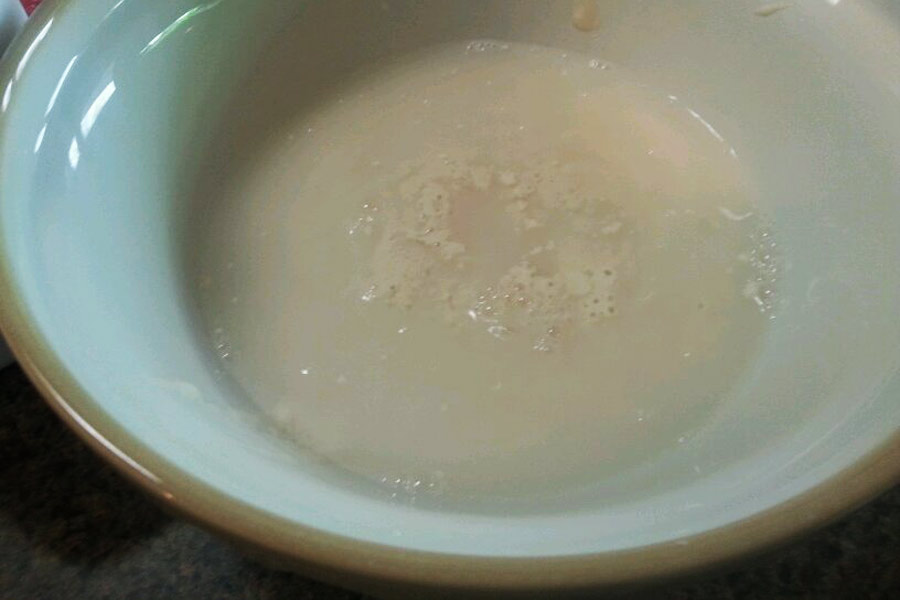
Now let the yeast sit in the water for about 10 minutes, just to let it bloom and reactivate – that gets the clumps out. After 10 minutes it should look like this:
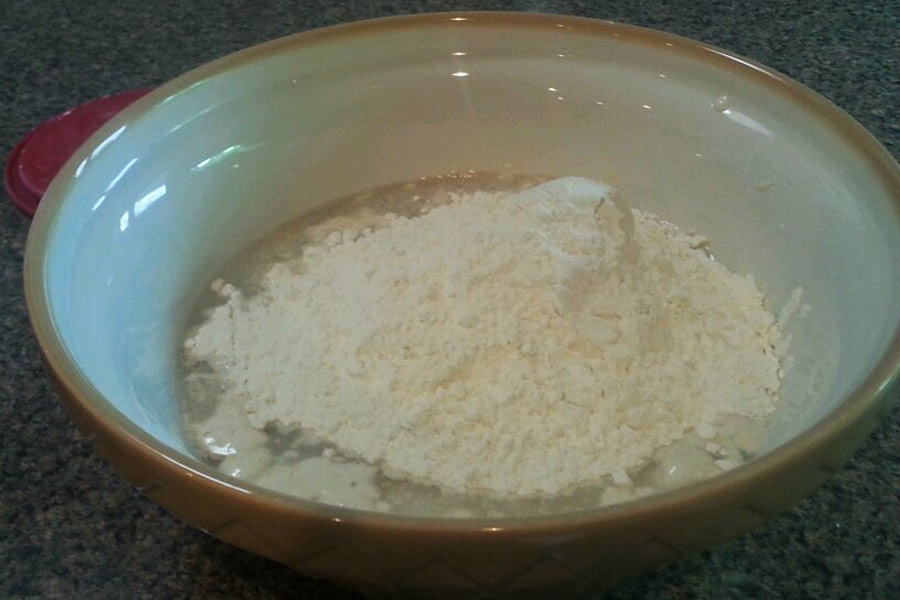
Next up is the flour and salt. Dump 3 cups of flour into the bowl and whisk it around till the lumps are gone.
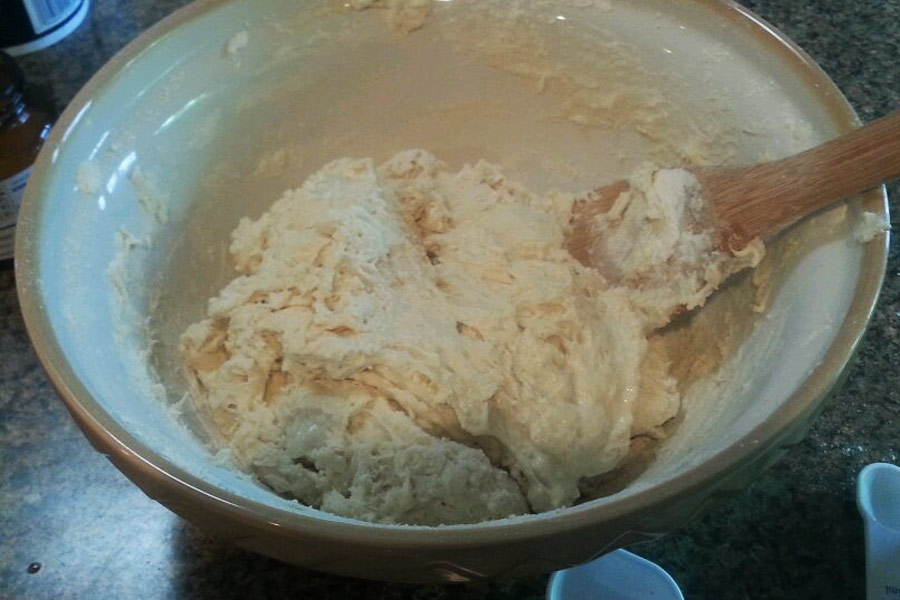
Let the bowl sit on the counter for 20 minutes, then add the final 3 cups of flour and 3 teaspoons of salt. Stir again till the lumps are gone.
That’s the perfect consistency for the dough. If yours looks watery, add another cup of flour. If yours is stiff and not sticky and soft, add 1/2 cup of water. In the end, you want to have a moist, sticky glob of dough.
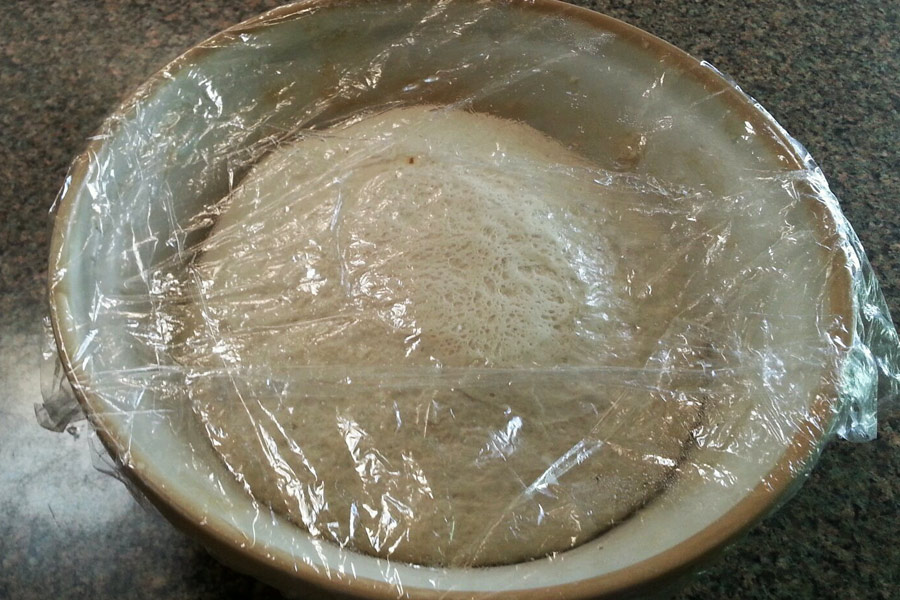
Now cover the bowl with plastic wrap and set it aside for 2 hours. I like to make this at dinnertime, that way it’s ready to put to bed in the fridge when I’m ready to head off to watch a good tv show with Tim.
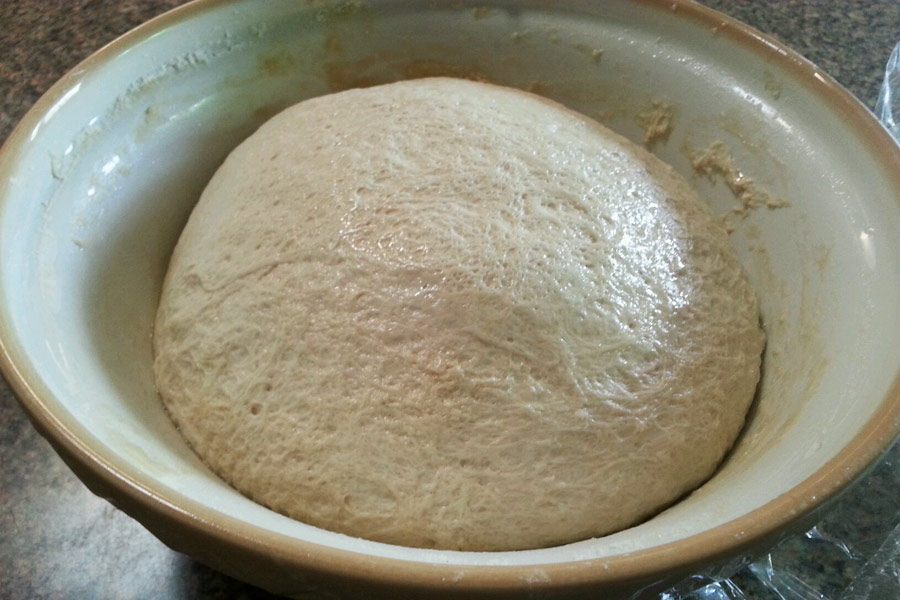
So there’s the dough after sitting on the counter for 2 hours. It’s risen a bit and gotten some lovely light air holes all over the surface – time for the cold ferment process – whee!
Just make sure that the plastic wrap is airtight so that the dough doesn’t dry out, then toss the whole thing into your fridge for at least one day, but 2 days is better.
This is the dough after 2 days in the fridge:
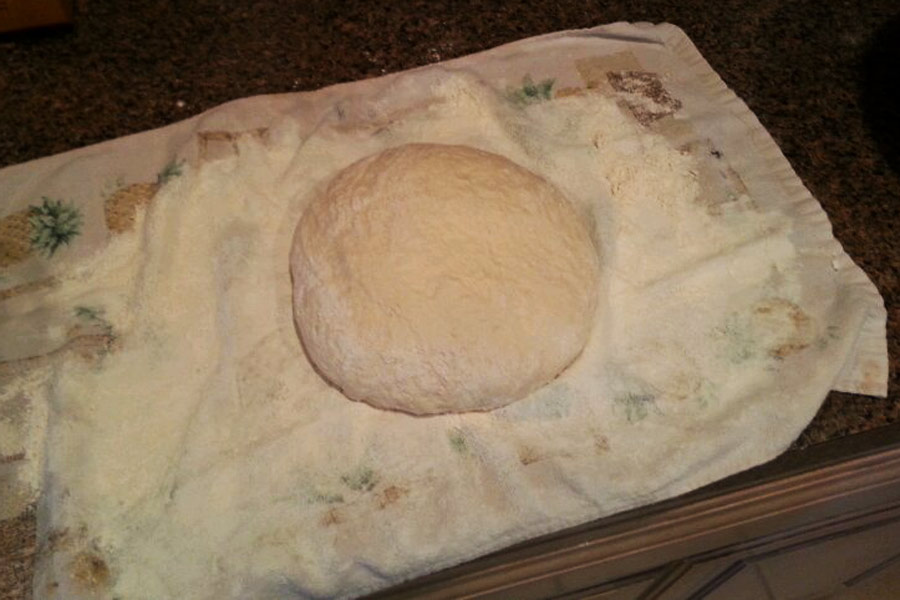
On the day that you want to make pizza, remove the dough from the fridge and turn it out onto a flour dusted tea towel. Do NOT punch down the dough or overwork it, just plop it onto the tea towel:
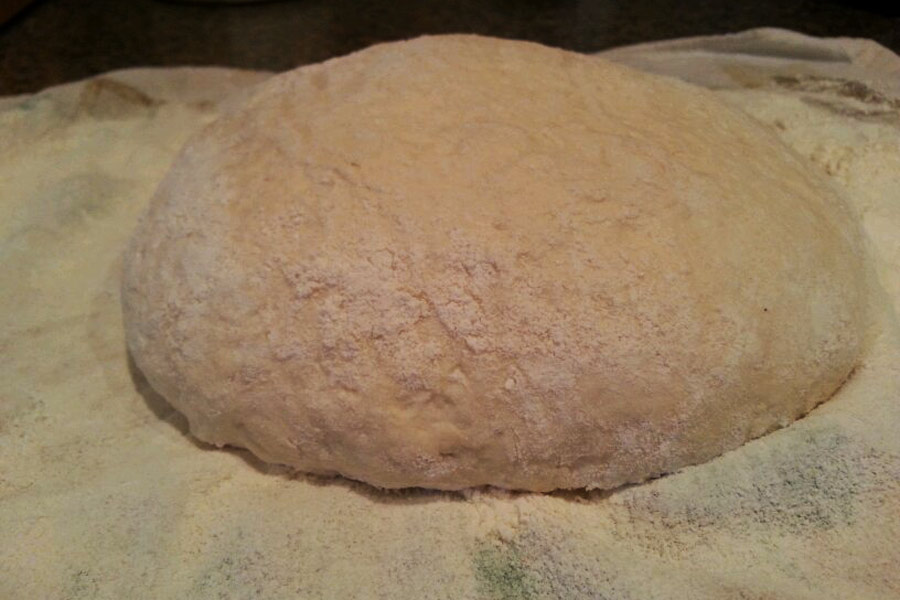
Here’s a side shot so you can see how it looks:
Now take a short break while you go put your 16″ cheapo aluminum pizza pans into the oven to heat to 500F. Then return to the dough and use a large sharp knife to cut it in half.
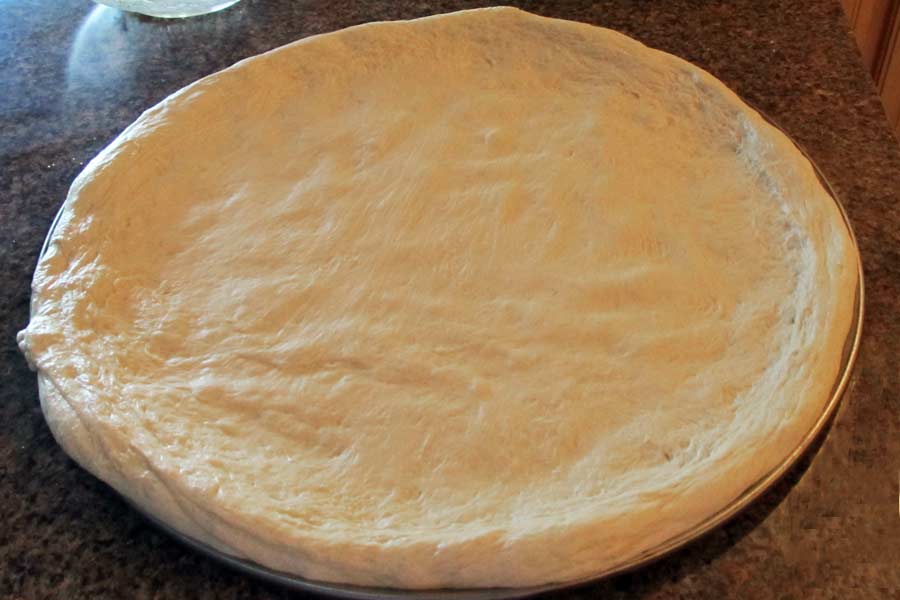
Sprinkle a bit of cornmeal onto yet another 16″ cheapo aluminum pizza pan, then gently pat the first dough half onto the pan. It will be nice and cold, which makes it easier to handle and push around the pan. If you tear it, just pinch it back together and keep patting and pushing till the pan is all covered in dough. I like to keep the edges thicker than the middle so that I can push the fillings around and not have them fall off the sides, but that’s just me.
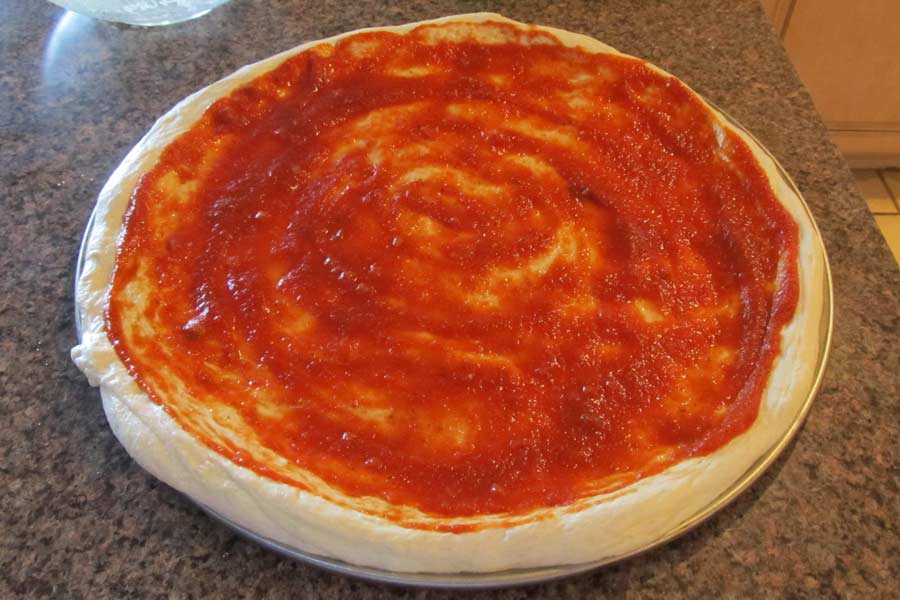
Do the same thing for the second crust, then top both of them with a light layer of tomato sauce. I learned the hard way that less is more when it comes to tomato sauce on a pizza. So don’t be tempted to pour half the can on there!
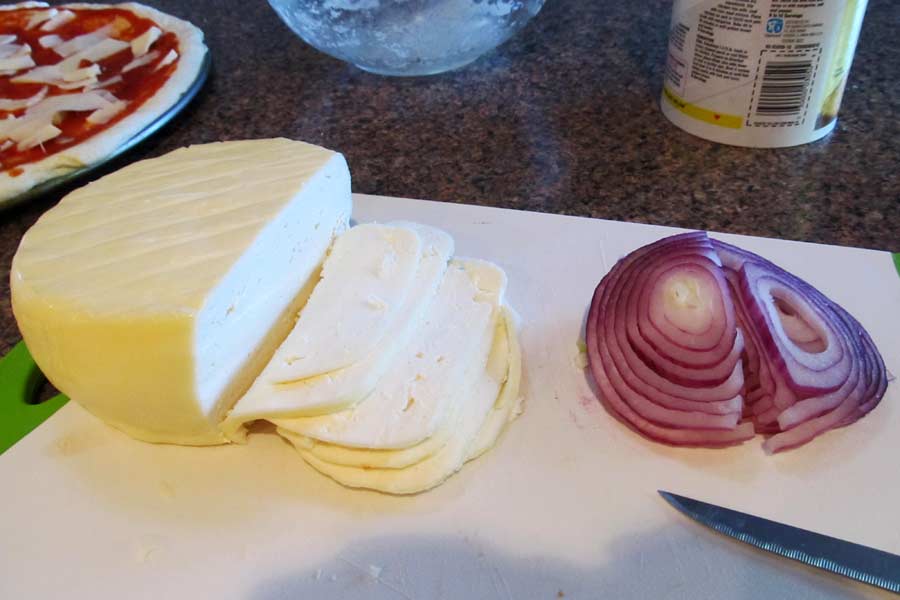
And here are some of the fillings I chose to use today:
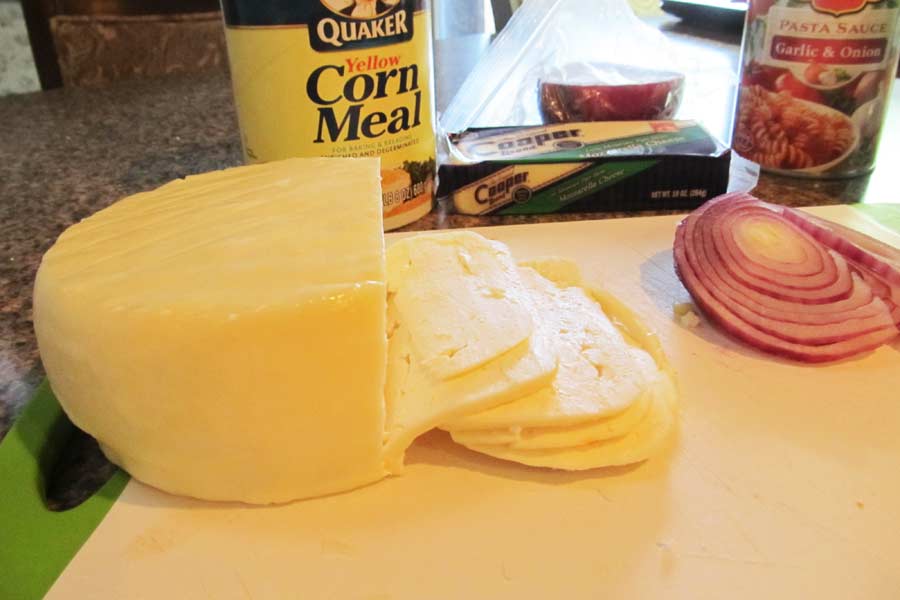
That’s a homemade Gouda cheese, red onion slices and a can of cheapo spaghetti sauce.
There’s also a brick of cheapo mozzarella cheese, because…well… I love cheese!
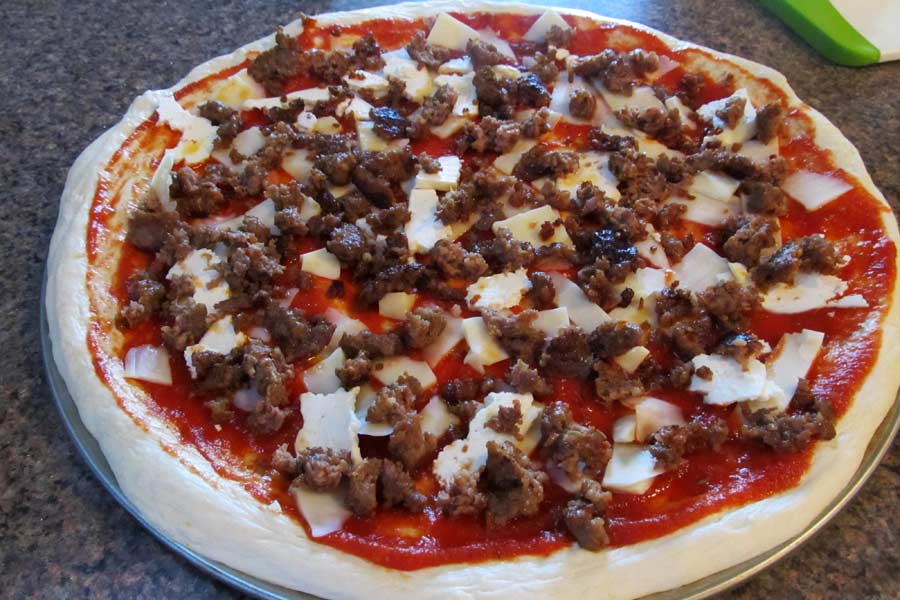
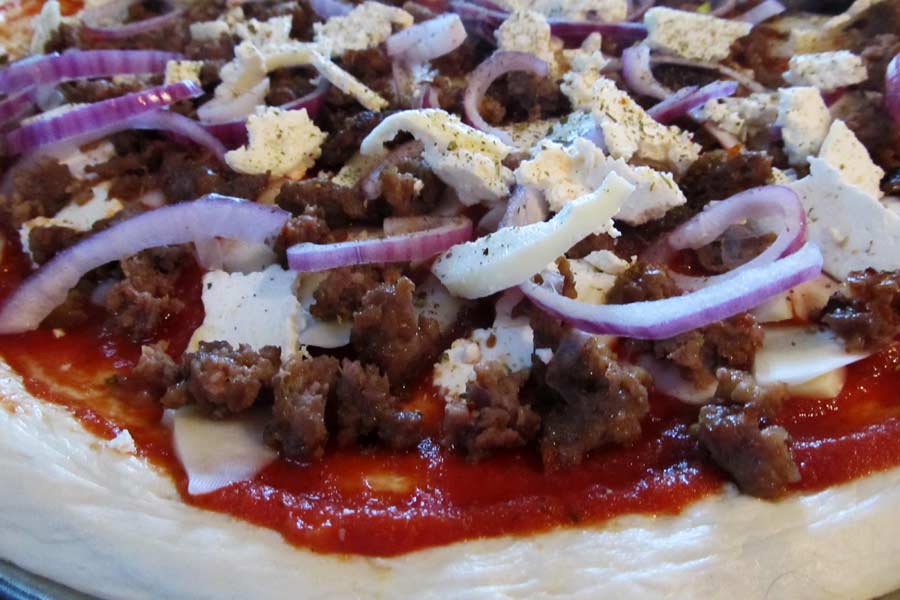
For Tim’s pizza we used Italian sausage (pre-cooked), sliced red onion and three cheeses. Here’s the pizza after the first cheese has gone on top.
And here it is after adding the onions and yet another layer of cheese. Oh and I top all of my pizza’s with basil just before they go into the oven.
Then it’s off to the bottom rack of the oven with this guy. In case you’re still hazy on why you preheated those cheapo pizza pans in the oven and then created your pizza’s on yet more pans, it’s because the first, super heated pan, will very quickly heat up anything that touches it, which means that it will heat that pan with the raw pizza and get it up to temp in big hurry so that the crust will get crispy on the bottom. Just slide your pizza, pan and all, right on top of the heated one in the oven!
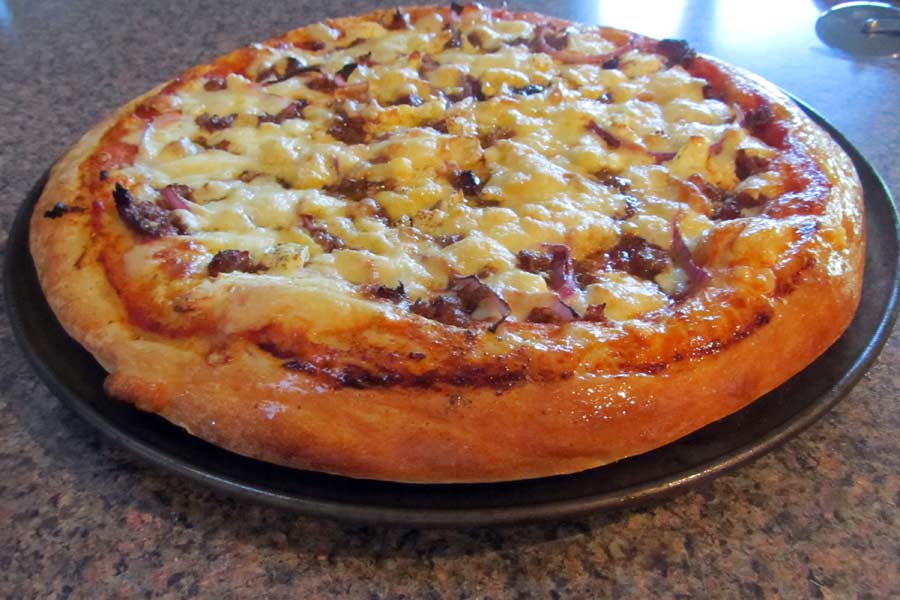
And after 20 minutes (with a switcheroo from bottom to top rack at the 10 minute baking point), you will have this:
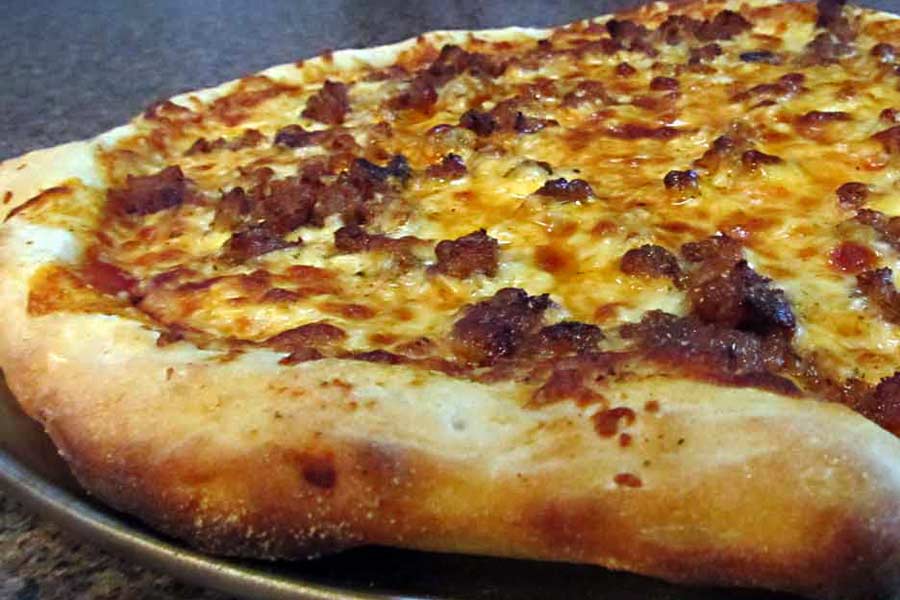
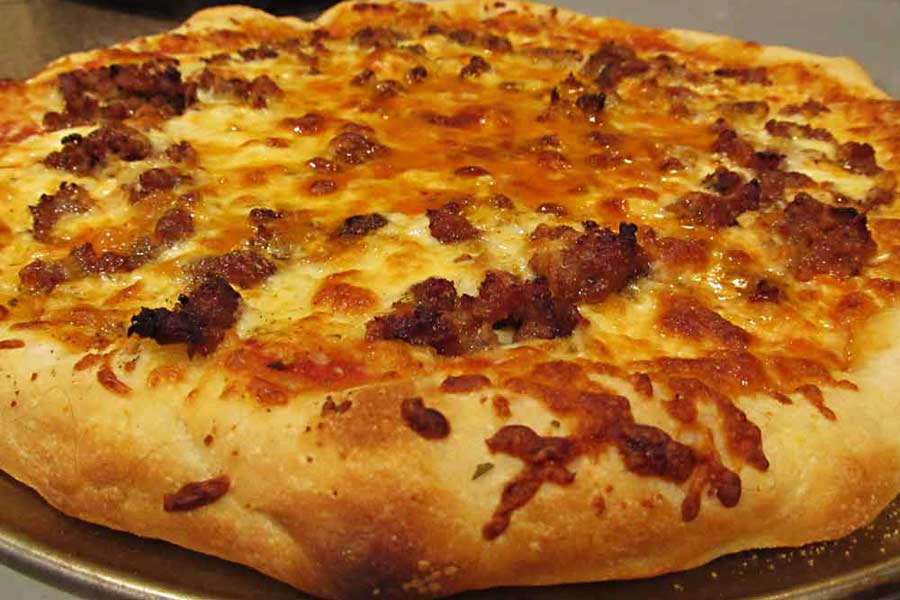
And after you slide it off the pan and directly onto the bottom of your gas oven (or onto the overtuned pan on top of the heating elements in your electric oven)… you will have this:
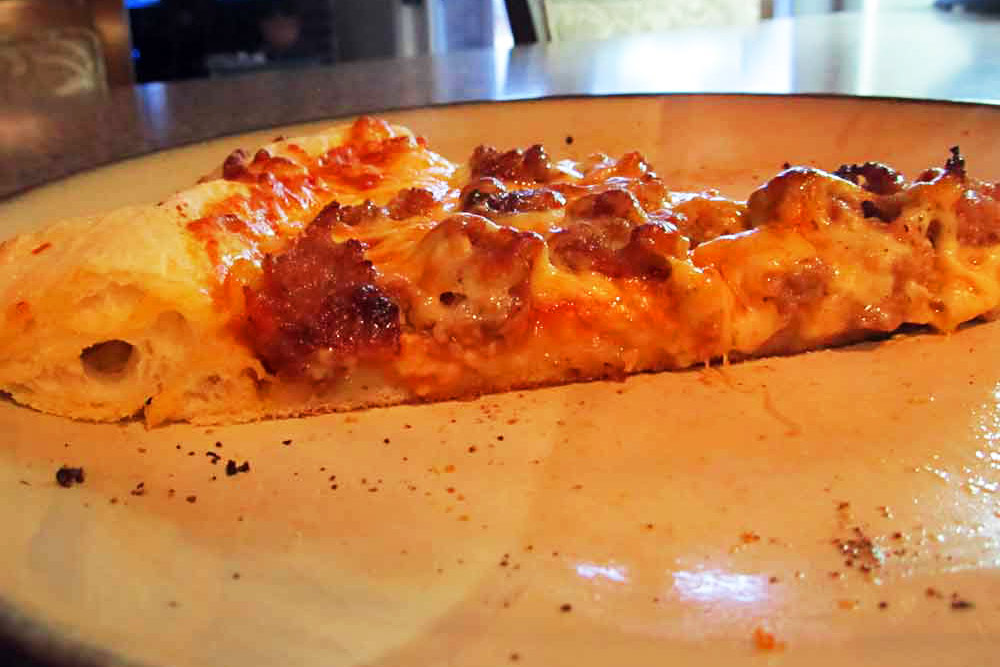
And when you forget to take a picture of a slice of your pizza… because you were too busy stuffing it into your face to bother with a camera… you will have this:
Okay, need to go find more napkins and another slice of Tim’s sausage and onion pizza now….
Greek Style Pizza Dough
Ingredients
- 6 Cups All-Purpose or bread flour more for dusting
- 1 Teaspoon Instant Yeast
- 3 Cups Water
- 3 Teaspoons Salt
Instructions
- Place the water into a large mixing bowl. Add the yeast, stir and let sit for 10 minutes to soften.
- Add 3 Cups of the flour, stirring well. Cover the bowl with plastic wrap and set it aside for 30 minutes.
- After 30 minutes, add the remaining flour and the salt to the bowl, stirring well to mix all the flour into the batter.
- The dough will be VERY sticky and soft! That is exactly what you want for this recipe.
- Cover the bowl with plastic wrap and set it aside on the counter for 2 hours.
- After 2 hours, place the bowl into the refrigerator for 24 hours, or up to 2 days.
Greek Style Pizza
Ingredients
- 2 Cups Marinara Sauce
- Assorted Toppings you like best
- 4 Cups Grated Cheeses
Instructions
- Preheat the oven to 500F and place a rack on the lowest shelf in the oven and one near the top of the oven.
- Place one 16" aluminum pizza pan on each shelf. Allow to preheat for at least 15 minutes.
- Take the cold pizza dough out of the refrigerator. Turn the dough onto a heavily floured tea towel, then divide it in half.
- Sprinkle 2 16" aluminum pizza pans with cornmeal, then gently press and stretch the each ball of dough onto a pan. Be sure to be gentle so that the dough doesn't stick to the pan!
- To check to see if the dough has stuck to the pan, gently lift it up from the edge. If it's stuck, pull it loose and add more cornmeal to the pan, then set the dough back down and press and stretch again.
- Once the second dough is in the second pan, place your sauce and toppings on each pizza. Remember that with pizza, less sauce is more! If you put too much sauce on the pizza it will be soggy and too heavy to rise well.
- Place the first pizza on the lowest rack and the second pizza on the top rack.
- Bake for 10 minutes, then switch the pizza positions.
- Bake for another 5 minutes.
- For a crispy, slightly blackened crust, remove the bottom rack from the oven and then slide the first pizza directly onto the floor of the oven. Close the door and count to 100, then remove that pizza and slide the second pizza onto the floor of the oven. Count to 100, then remove that pizza and let cool slightly before cutting.



Currently in the process my dough is in the fridge and looking great, will be ready for pizza time tonight or tomorrow😊🇺🇸. Will send photos and comments when done! Thank you