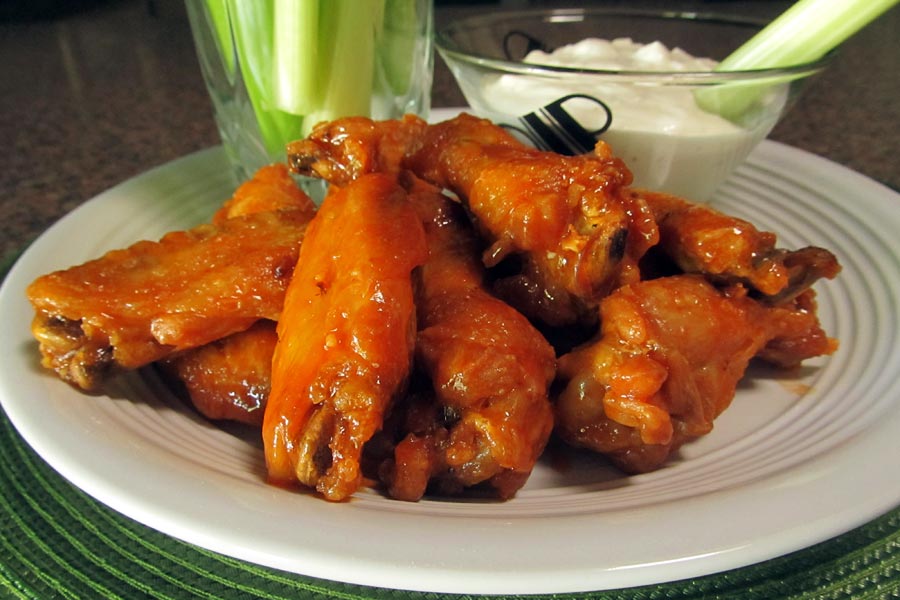
Wow, is it MAN-ic Monday already? Where did the weekend go? I don’t know about your neck of the woods, but here in the high plains desert of Idaho, it’s football season! Oh, and the weather is already down to the low 70’s during the day, which makes it perfect weather for lots of cooking in the kitchen. Time for some extra Crispy and Juicy Chicken Wings, yes? YES!
So here’s how I learned to make these absolutely awesome Crispy and Juicy Chicken Wings. The story begins way back in the late 80’s when I was visiting family in Buffalo, NY. They insisted that I try out some “Buffalo Wings”, which were a local fave. Oh my gosh, I fell in love with them. The skin on the outside of the wing was super crispy, thin and melted in my mouth. The inside of the wing was succulent, juicy and tender!
Nowadays everyone has discovered the humble Buffalo Wing and there are lots of recipes for making them, but back then, NO RECIPES!
So when I got back home I started figuring out how to make them. And I made some fairly decent wings, I really did.
The only problem with my cooking method was that I could either fry them long enough to get the crispy, tender, melt-in-mouth skin and suffer with dry meat inside, or I could fry them a little less and get super juicy meat with slightly flabby skins. I usually chose to eat the slightly flabby ones.
Enter the website that changed my life! Ok, maybe that was a bit melodramatic, but trust me when I tell you that it definitely changed my Sunday Football life! J. Kenji López-Alt at Serious Eats.com posted a wonderful blog about his experiments with wings. His goal was to produce those super crispy, extra juicy buffalo wings that I craved, so I gobbled up his post and promptly set out to try his method.
It worked! I set out the most awesome, perfect, crispy yet juicy wings I’d ever made – every bit as good as that first batch of wings I ate in Buffalo, NY – no lie – EVERY… BIT… AS… GOOD!
I’ve adapted his recipe just a wee bit over the years just to simplify it and to make a larger portion of wings, cuz we loves our wings ’round here. Oh and personally, I prefer Texas Pete’s Red Hot Sauce over Frank’s version. The heat is more consistent and it never leaves blisters on the roof of my mouth. Blisters are no bueno!
So without further delay, let’s get right to the making of extra crispy and juicy chicken wings. If you want to serve them on a weeknight, I’d recommend using the make ahead method, then freezing them in single serving sized freezer bags. That way, you can just pull out as many serving bags as you need on the night you want to eat them, and they’ll fry up quickly AND perfectly in a jiffy.
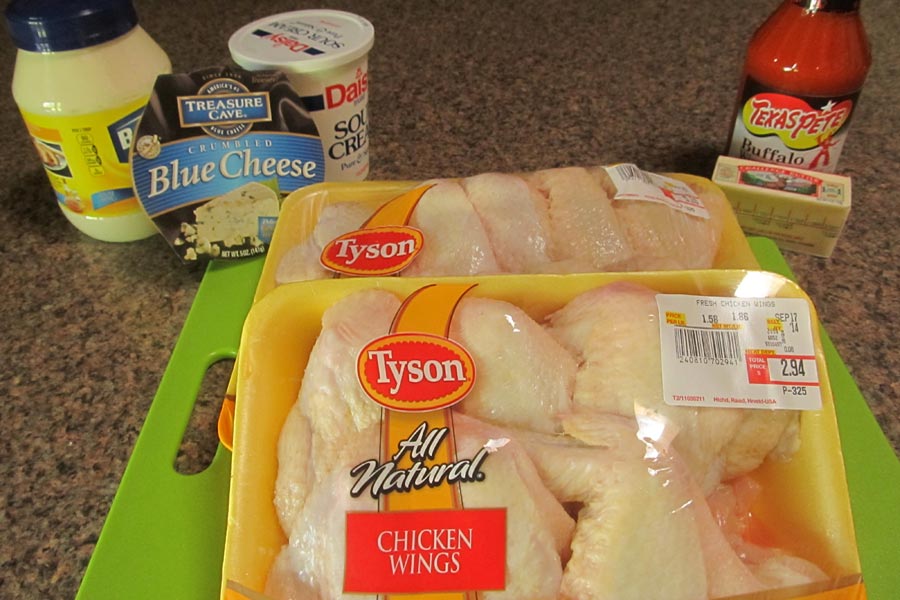
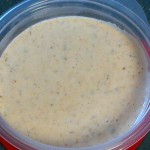
The basic ingredients you need are fairly simple. I make my own blue cheese dipping sauce using mayonnaise, sour cream (equal proportions), a bit of dill weed and enough milk to thin the dip out. If you use a premade dipping sauce you can skip those ingredients and just use oil, wings, buffalo hot sauce and a stick of butter.
These wings were huge! The total weight was about 5 pounds, but once the wing tips were removed they were more like 4 1/2 pounds. For the best wings, use fresh, not frozen wings!
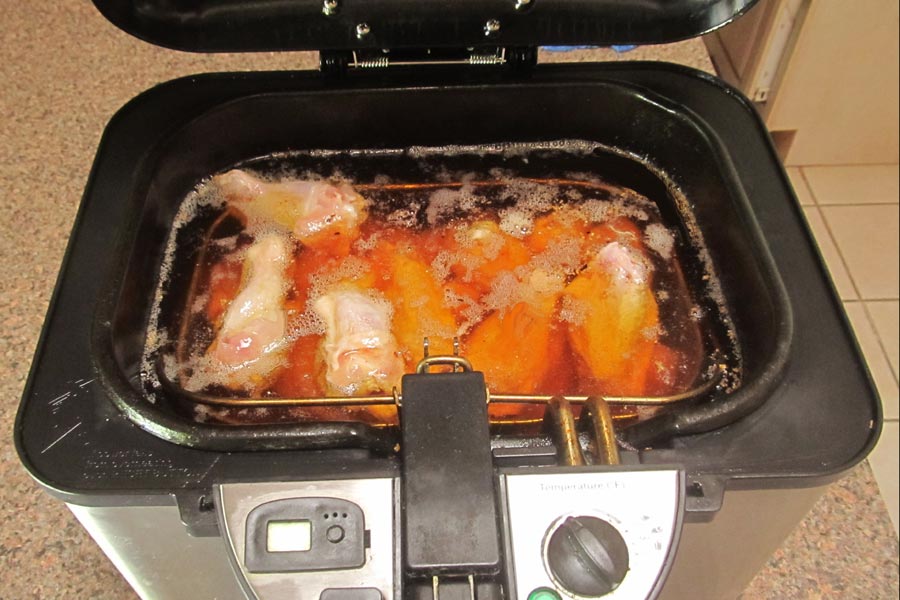
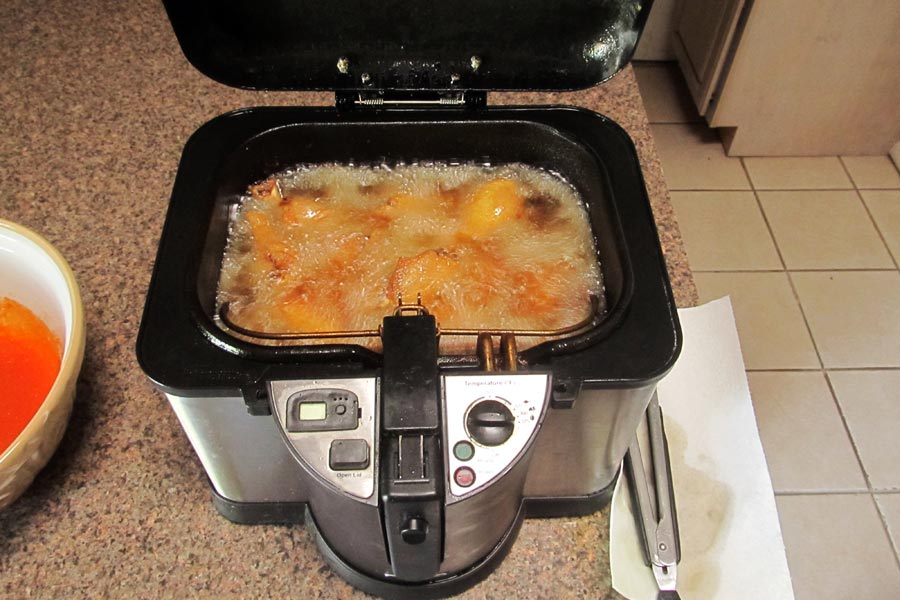
No matter which cooking method you are using, be sure to get the oil to 225F and keep it there during the entire first cook. Oh and if some of the wings are poking out of the oil at the surface, just stir or shake them around so that they get equal time in the oil bath. This is my deep fat fryer. I love it and you can see by the icky stuff around the edges that I use it often. Note to self: Clean the fryer before you take pics next time!
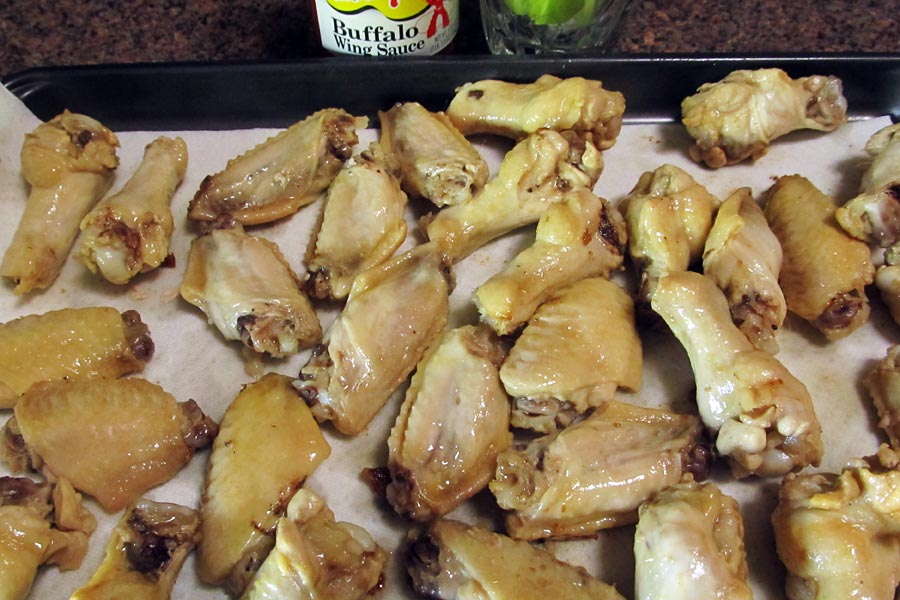
The goal in the first low temperature cook is to completely cook the wings and render out the fat in the skins while not actually frying them. They should be pale looking, not golden brown when you pull them out to drain them.
While they are draining and cooling, go ahead and whip up your Buffalo Wing sauce and your Blue Cheese Dipping sauce. Oh and don’t forget to cut up some celery sticks too!
Once they’ve cooled, you have 3 choices.
- Freeze them in a single layer, then bag and freeze for a quick meal that you can fry up in just 10 minutes on any day of the week
- Refrigerate them for up to 2 days, then complete the final frying on say… a Sunday… just before half time!
- Leave them on the counter for 1 hour, then fry them up for serving on the same day.
Made your choice? Yay! Now let’s get on with the final frying of some extra Crispy and Juicy Chicken Wings, shall we?
Get the oil to 400F, then drop in your slightly thawed, right from the refrigerator, or cooled for 1 hour on the counter, wings. (uh huh, confusing sentence, but choose the option that applies to the method you chose after the first cook)
When the temp is right, drop in the wings. You might need to split them into 2 batches, depending on how large your pot or deep fryer is and how many wings you plan to cook. For me, my fryer holds a full 5 pounds of wings, so one batch and I’m done.
While they fry you can set out your celery and blue cheese dipping sauce, then warm the buffalo wing sauce one more time. You want the red sauce to be nice and hot so that it doesn’t cool down the wings when you toss them! Factoid: I don’t bother with melting the butter and sauce in a small bowl, I just put them right into the huge “tossing” bowl and then melt/warm it in the microwave – less bowls to clean!
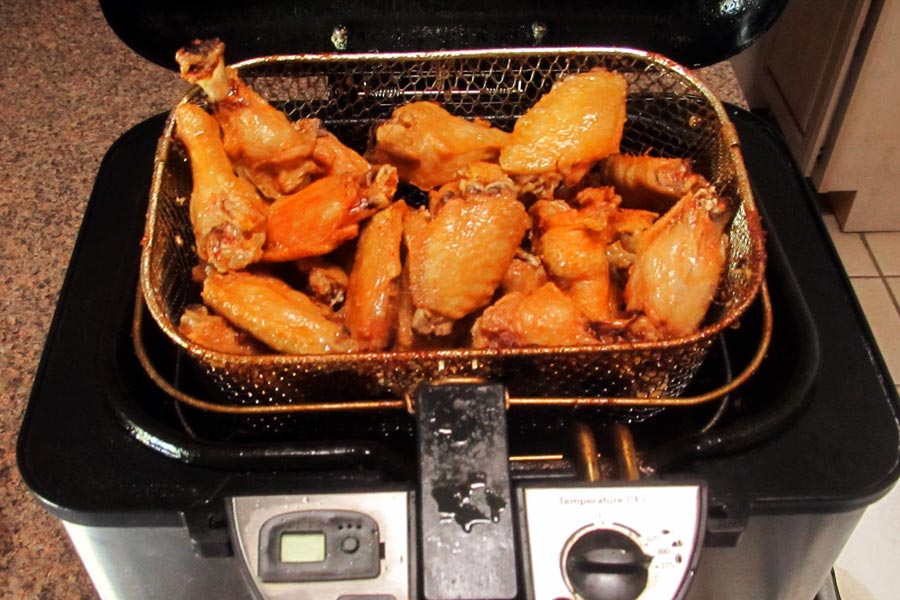
After 8-10 minutes, the wings will look like this:
See how golden brown they are? That’s what you want! Can you also see how fat and juicy they look? Uh huh, they haven’t shriveled up into little wings of dryness!
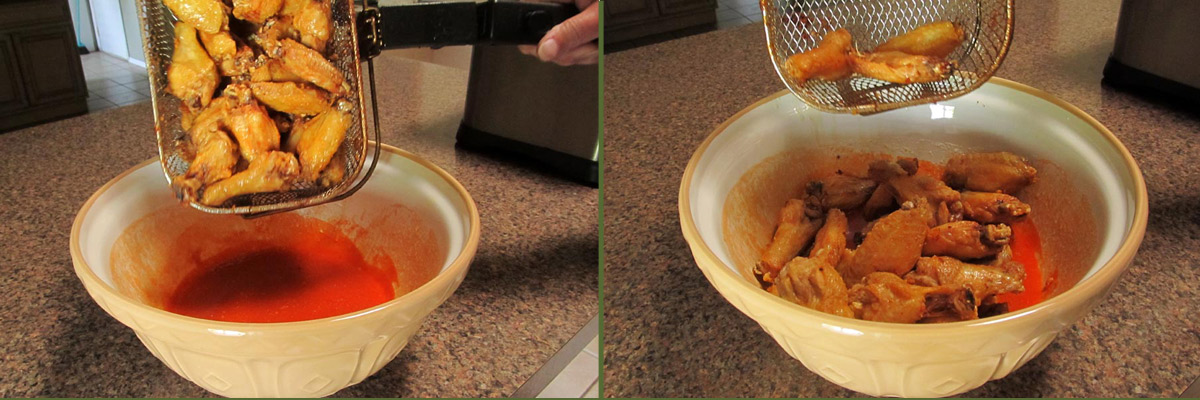
Now it’s time to drain them just a bit and then toss them with the warm buffalo sauce. Be sure to use a huge bowl so that you can toss them without splashing all over the counter.
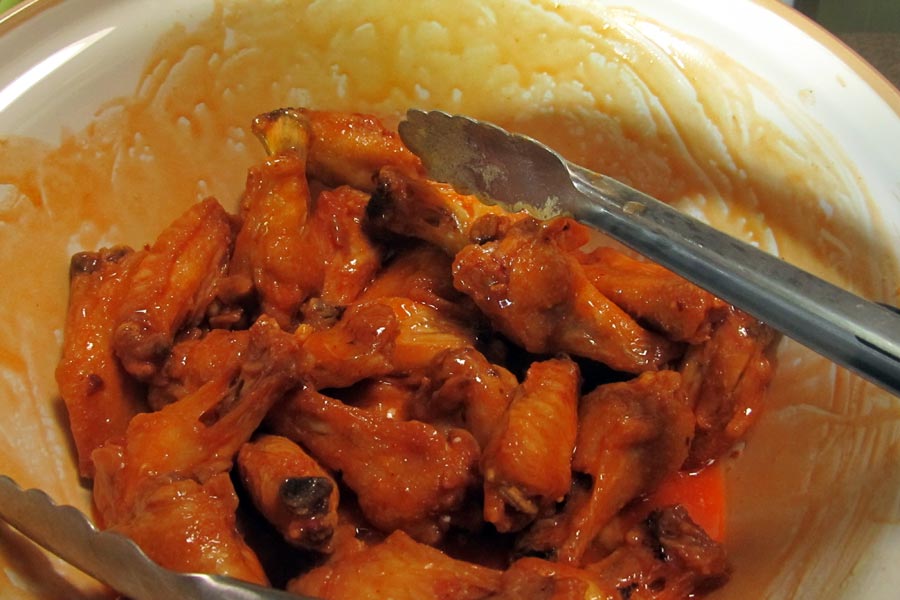
Now just toss them around till they’re all well coated and dripping in sauce.
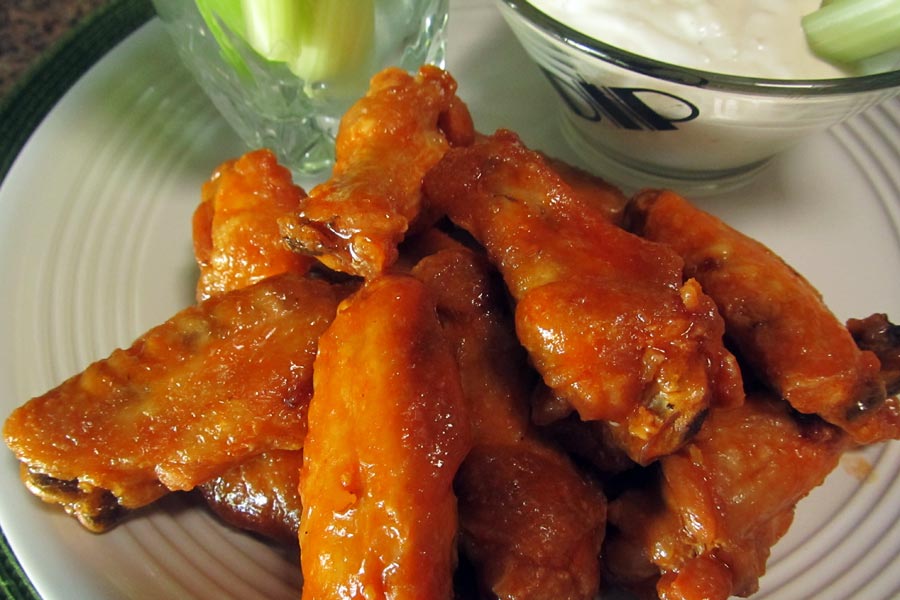
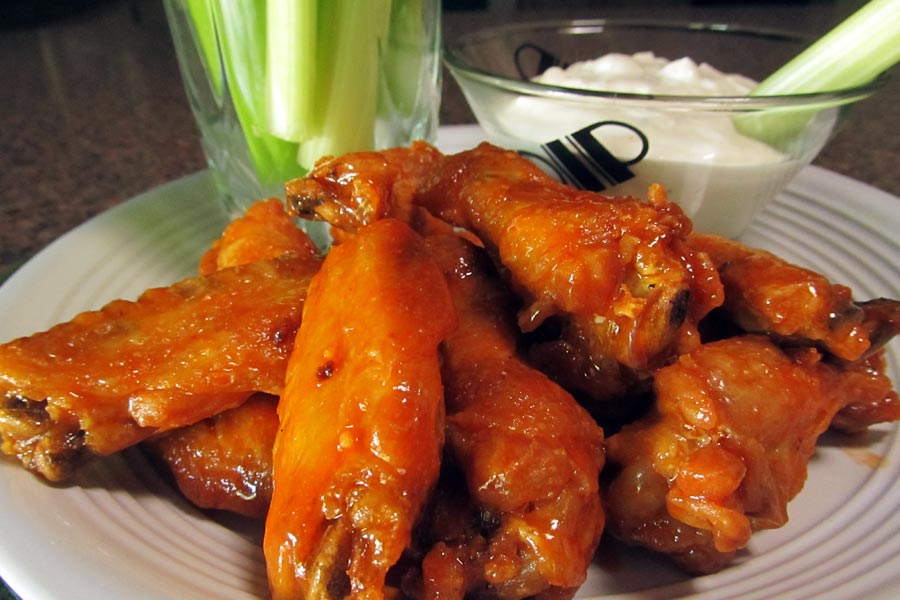
… and serve them up with plenty of blue cheese sauce, celery sticks and napkins… lots of napkins!
Crispy and Juicy Chicken Wings
Ingredients
- 1 Gallon Oil - Canola or Peanut works best
- 5 lbs. Chicken Wings - Remove tips and cut into two pieces each
- 1 Stick 8 ounces Butter
- 1 Cup Texas Pete's Red Hot Sauce or other wing sauce of your choice
- Blue Cheese or Ranch Dressing
- Celery sticks
Instructions
- Stovetop method:
- Place oil into a large pot. Heat oil to 250F, then add all chicken pieces. Crowd them in! The oil should just cover the chicken wings. The oil temperature will drop when you add the chicken. Bring it up to 225F amd maintain it for the entire cooking time.
- Cook, stirring occasionally until chicken is cooked through and skin is tender - about 20 minutes total.
- Transfer chicken to a baking sheet lined with paper towels or parchment paper.
- If you will be serving on the same day, allow chicken to rest at room temperature for 1 hour.
- If you are preparing them one day ahead, allow the chicken to cool completely, then place them in a plastic bag or other container and refrigerate overnight.
- If you are preparing these ahead for the freezer, place the drained chicken pieces in a single layer on a baking sheet, then place in the freezer for 1 hour. Remove from the freezer and place into freezer bags. Store in the freezer for up to 3 months.
- Proceed to the final step.
- Oven Method:
- Pregeat oven to 225°F.
- Place oil in a large oven-safe Dutch oven. Heat over medium-high heat, stirring occasionally, until it registers 250°F on an instant-read or deep-fry thermometer. Add the chicken wings and stir to coat all wings.
- Cover pot and transfer to oven.
- Cook until chicken wings are tender but not browned - 50 minutes.
- Transfer chicken to a baking sheet lined with paper towels or parchment paper.
- If you will be serving on the same day, allow chicken to rest at room temperature for 1 hour.
- If you are preparing them one day ahead, allow the chicken to cool completely, then place them in a plastic bag or other container and refrigerate overnight.
- If you are preparing these ahead for the freezer, place the drained chicken pieces in a single layer on a baking sheet, then place in the freezer for 1 hour. Remove from the freezer and place into freezer bags. Store in the freezer for up to 3 months.
- Proceed to the final step.
- On Cooking Day:
- If you are using frozen wings that you've prepared ahead, remove the amount you need from the freezer and allow it to sit at room temperature for one hour in the freezer bags. After 1 hour, proceed with the steps below.
- If you are using freshly cooked wings from either method above, proceed with the steps below.
- Place the butter in a small microwave safe bowl, then microwave on medium power for 1 minute or till completely melted. Stir in the Texas Pete's Red Hot sauce, then microwave again for 2 minutes on half power.
- If you are frying the entire 4 pounds of wings listed in the recipe, divide the chicken into 2 batches for frying if the pot you are using is too small to hold all the wings without bubbling over the top. You will know if you need to do 2 batches as you add the chicken. I use a deep fat fryer which holds 4 pounds of wings or a very large dutch oven which will also hold all 4 pounds of wings.
- Heat oil in a large pot, filled to the halfway point with oil. When the temperature of the oil reaches 400°F, carefully add the chicken and cook until golden brown and crisp - about 8-10 minutes. Repeat with second batch if needed.
- When you are ready to coat the wings, microwave the butter/hot sauce mixture for 1 minute, then pour it into a large bowl.
- Transfer the wings to the bowl with sauce, toss to coat, Repeat with any remaining batches then serve with either blue cheese or ranch dressing and celery sticks.



Leave a Reply