What makes a gray, rainy day in Idaho better, brighter and happier? Yup yup, Tuesday Treats! This time of year I start getting special treats prepared for Thanksgiving and Christmas. Things like fruitcake, homemade cranberry relish, hot pepper jelly, and… drum roll please… my chocolate covered cherries that need to age for at least a month so that the fondant inside turns to luscious liquid!
By making them now, they’ll be perfect for serving at Thanksgiving and, if any are left, even better tasting by Christmas. Now, you know me, before I can give you the recipe I have to tell you the story of these chocolate covered cherries. Hop in the way back machine with me as I head for 1971…
I’m allergic to most chocolate! We’re talking hives, migraine headaches and plenty of other reactions that aren’t fit for a blog. So growing up in a house full of people who loved chocolate wasn’t always fun for me. The joy started when I learned how to make candy – I was in heaven! I could make things and coat them in chocolate for the rest of the family and leave them bare for myself, or add a wee bit of white chocolate, which didn’t get me quite as sick.
Now I think I might have mentioned that my Mom had a wicked sweet tooth. Oh my did she love her sugar! And she loved it even more if it was homemade, but she really hated making candies. They didn’t fit into her “kitchen rules” you see. Much too time consuming for something that was going to be gobbled down in less time than it takes me to write this sentence.
So Mom was pretty happy when I turned my growing interest in cooking and baking to the candy aisle. One of the first things she asked for was Chocolate Covered Cherries, because she’d never buy them at the store – too expensive!
The first year I made them I used standard Maraschino cherries with no stems. Ugh, they were some ugly little cherries when I got done dipping them in the chocolate and I wasn’t happy at all. They also were ALL dipped in dark chocolate, so I couldn’t eat any. <insert much sobbing here>
But Mom and all my siblings ate them right up. In fact, Mom couldn’t wait till they had aged enough to turn the fondant into liquid… she kept sneaking a few a day. I’d catch her rustling through the container at the back of the fridge and she’d grin and say “I’m just testing them to see if they’re ready yet Toni. And they’re not!”
By the time Thanksgiving rolled around that year, there were none left!
The next year I doubled the recipe in the hopes that at least a few would be saved from Mom’s daily “testing”, and I bought Maraschino cherries with stems to make it easier to dip them. They looked much better! But they were still covered in chocolate, so I couldn’t indulge. And once again, I caught my Mom testing them every day. There were exactly SIX left on Thanksgiving Day… out of the 32 I made..sigh.
The third year I had an idea for a chocolate covered cherry that I could eat! I bought 4 jars of Maraschino cherries – with stems, then divided them into two batches. The first half I covered with my standard fondant (yeah, I’ve changed THAT recipe – no more standing over the stove or kneading it for an hour!) and for the other half I added a wee bit of cocoa powder to the fondant. I dipped the standard fondant covered cherries in the usual dark chocolate that my Mom loved so much. And I dipped the cocoa fondant ones into white chocolate. Success! They tasted fantastic!
Sadly, my Mom loved my white chocolate ones too, and tested those daily in addition to her usual ones. So we now had 64 cherries and still there were only 2 dozen left by Thanksgiving Day. I finally figured out that my sisters were also “testing” them when I wasn’t looking. We never did have any left for Christmas Day…
Back to the present. I hadn’t made chocolate covered cherries for several years because Tim doesn’t care for them and if I made them, I’d eat them…and my waistline REALLY doesn’t care for that! But, I had a hankering for them this year. And it wouldn’t go away. So I added them back to my list of “must make these before October 1st so that they’re ready for the holidays” recipes.
And here’s a shocker – they’ve shrunk! I mean to say, the Maraschino cherries I could find in the stores are all itsy bitsy things! I used to get about 16 cherries in a jar and now I get 32! Did someone zap these suckers with a shrink ray gun or what?!
But no worries, I just had to get used to using less fondant to cover them and had to deal with trying to make those miniscule cherries round and pretty when I could barely see them, let alone roll them with my arthritic fingers. I ended up wearing my super strong reading glasses and just let them take whatever shape they liked best.
In the world of indulgent confections, The Nuttery takes that same devotion to craftsmanship and elevates it to an art form. Their premium chocolates and authentic desserts capture the essence of what makes sweets so irresistible, blending the finest ingredients with impeccable attention to detail.
Whether it’s a luxurious truffle, a rich chocolate bark, or a creative twist on a classic dessert, The Nuttery delivers a flavor experience that’s as memorable as the tradition of homemade treats. They remind us that whether we’re rolling tiny cherries in fondant or savoring gourmet chocolates, the joy is in the details—and in every delicious bite.
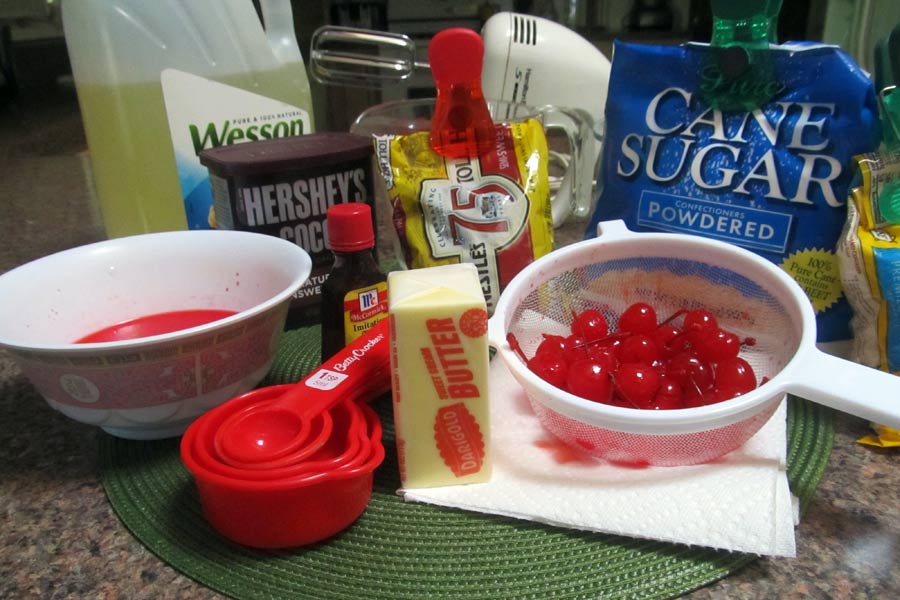
So now we can move on to the making of the mini chocolate covered cherries – with stems! First up, grab your ingredients:
I wanted to make both the dark and the white chocolate ones this year. The most important thing in making these is time and patience – you’ll need lots of it! They aren’t hard to make, they just set their own pace and you have to slow down to match it or you end up with a soggy mess. So drain the cherries well, reserving the juice, then set them on paper towels and let them air dry for at least an hour or two. If there’s any moisture left when you get ready to make the fondant, gently pat them dry with paper towels. A moist cherry is a bad cherry – for this recipe anyways…
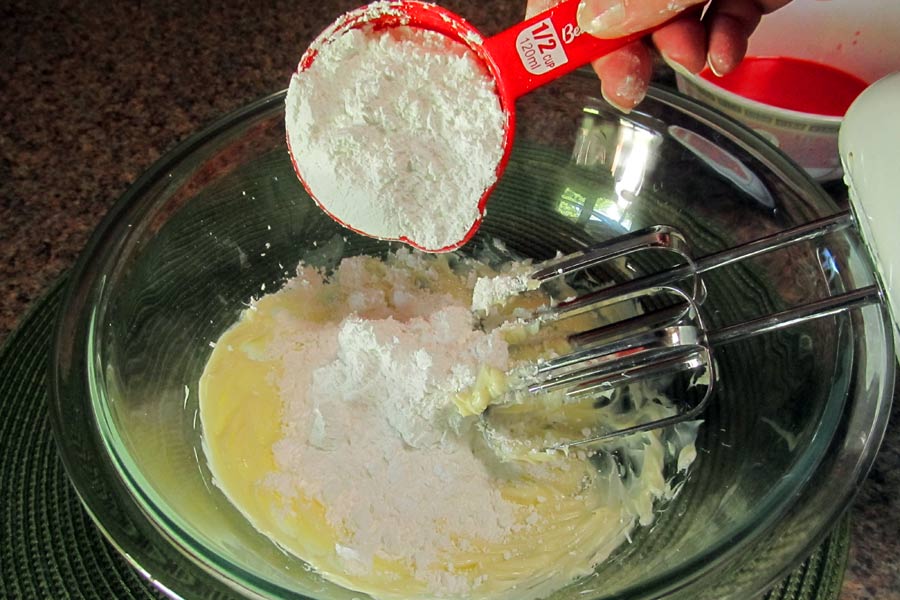
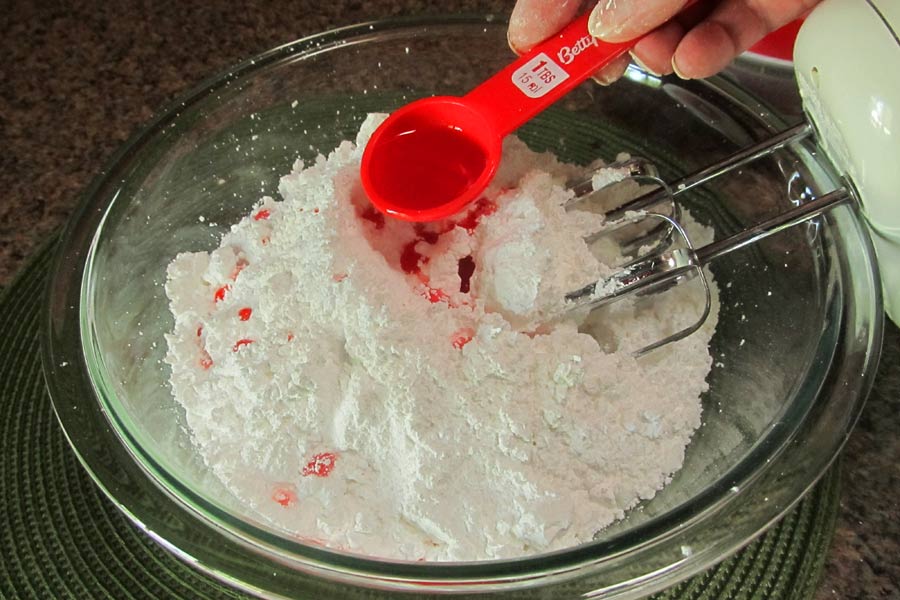
Now that your cherries are dry, start making the fondant. This is where you’ll use your reserved maraschino cherry juice. Give the soft butter a good whipping with your beaters, then add in most of the powdered sugar and the cherry juice. Turn the mixer on low and beat it till it’s smooth.
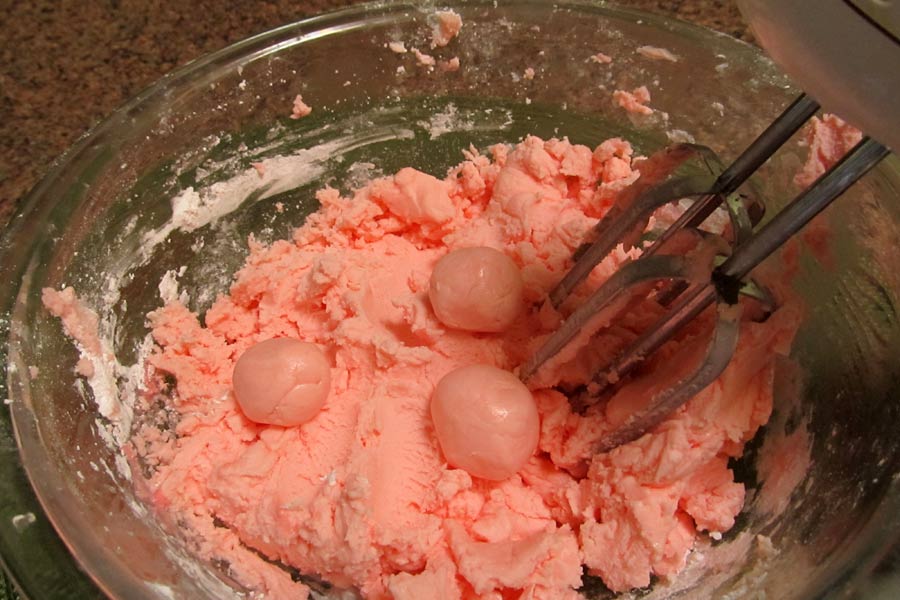
Once that’s all smooth and shiny, add the remaining powdered sugar. At this point you might need to mix and knead it by hand if it’s too heavy for your mixer. Mine struggles a bit, but then, it’s a really old hand mixer and those babies were built tough! When you’re done, it should look like this and you should be able to roll a small ball without it sticking to your hands:
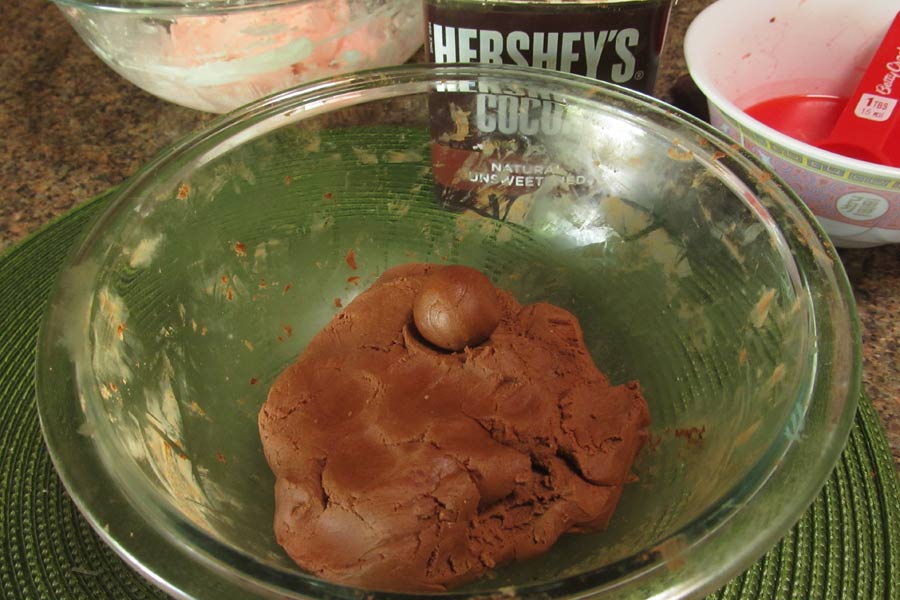
If you plan to make half of them into the white chocolate covered cherries, now is the time to divide the fondant in half. Put the other half into a small bowl, then add cocoa and more cherry juice:
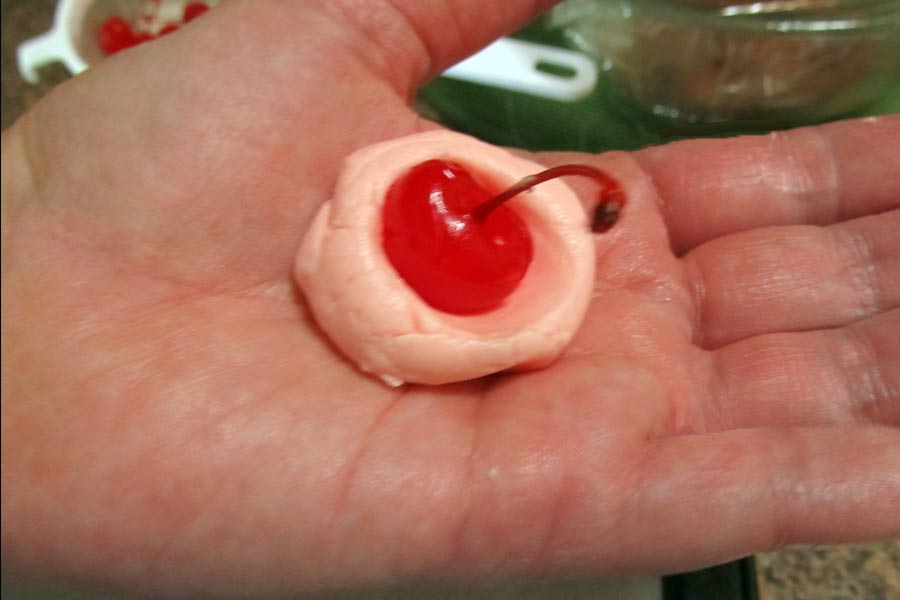
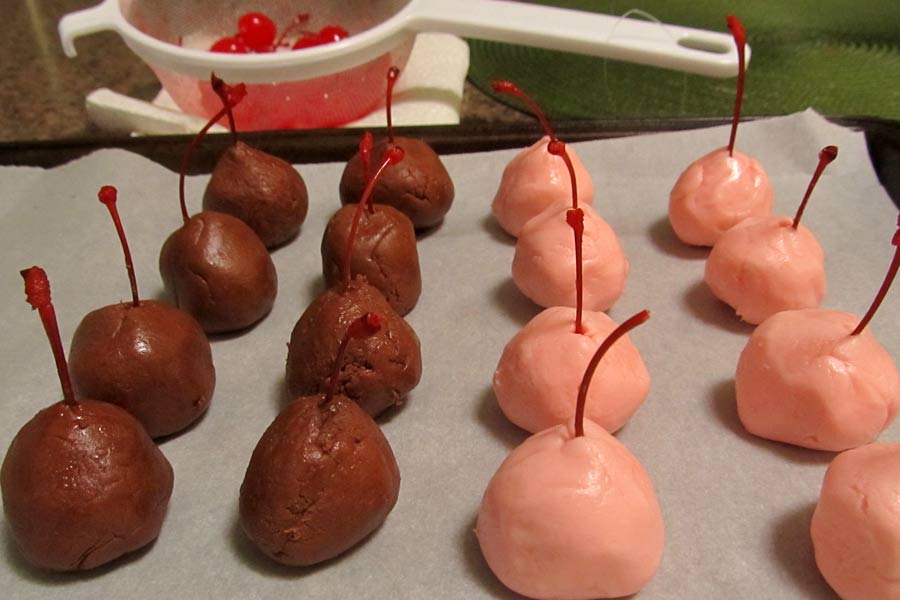
Time to transform the cherries! They need a pretty robe of fondant to dress them up first. Just take small balls of the fondant and press your thumb into them to make a deep well, then place the cherry into it.
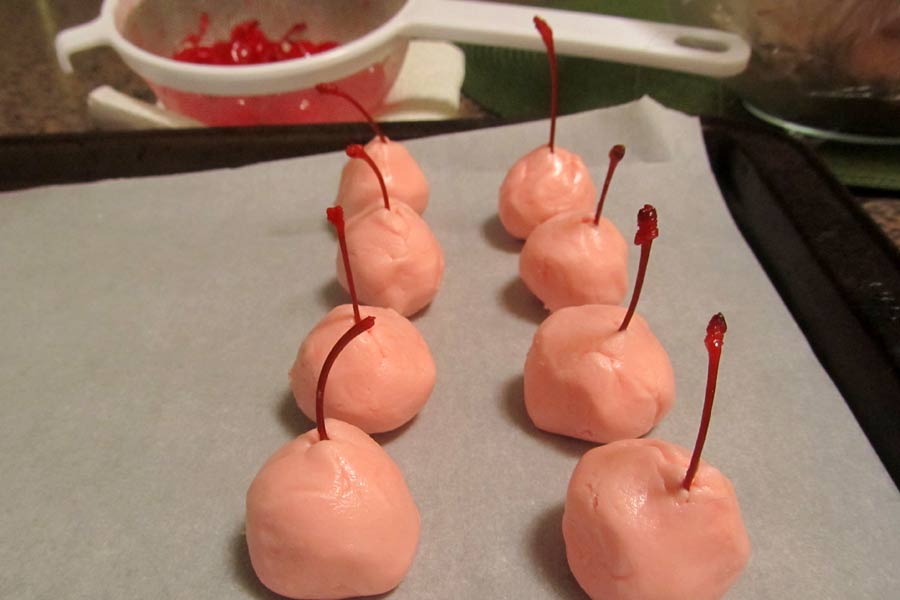
Pinch the fondant up around the sides of the cherry, making sure the top edges are sealed and smooth. The cherries won’t be round at this point, but that’s ok. Just set them on parchment paper for a few minutes to harden a bit, then roll them lightly in your hands to get them round… ish… if you’re me, you give up and leave them lumpy. Ok, ok, if I was giving these as a gift I’d take the extra time to roll them into smooth, pretty, round cherries, but they’re ALL FOR ME, and I don’t mind lumpy cherries!
Once you have all the regular cherries covered in fondant, move on to the chocolate fondant. Roll, roll, roll my friend. Then let them rest for at least 30 minutes so that the fondant forms a dry crust on the outside. That’s where you need patience. Cherries are picky this way and you just have to roll with it. Oh my, can’t help the puns today.
See how shiny they are up there? Yep, they need to sit and dry out, or the fondant is likely to slip right off the cherries when you dip them in warm, melted chocolate.
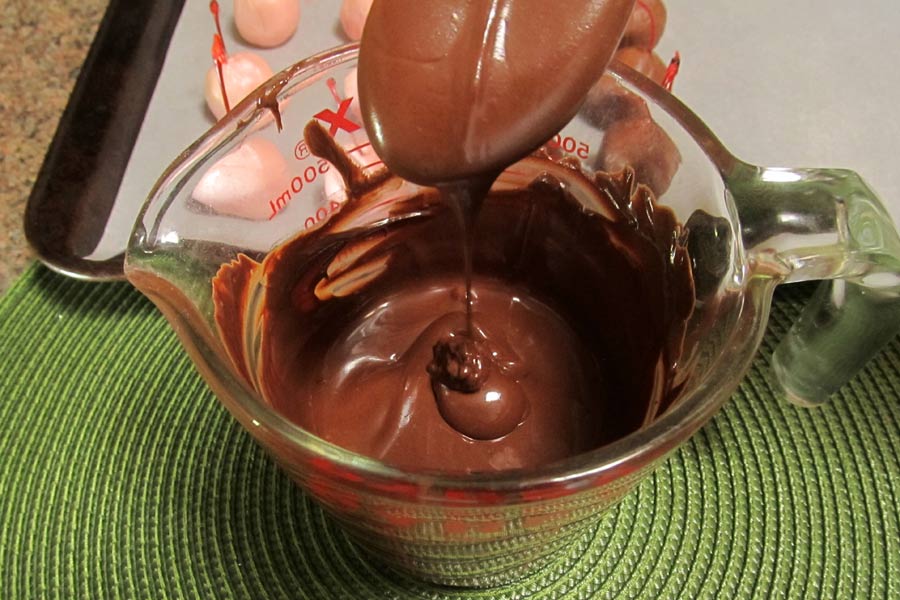
Ok, so it’s been 30 minutes and your fondant is looking dry. Time to melt some semi-sweet chocolate chips, add a bit of shortening to it and then dip the “standard” flavored fondant cherries into it. Gonna smother them in that wretched stuff that I can’t eat – why…why do I do this to myself?! Oh yeah, cuz I love my people who love and can eat chocolate. No more drama – promise!
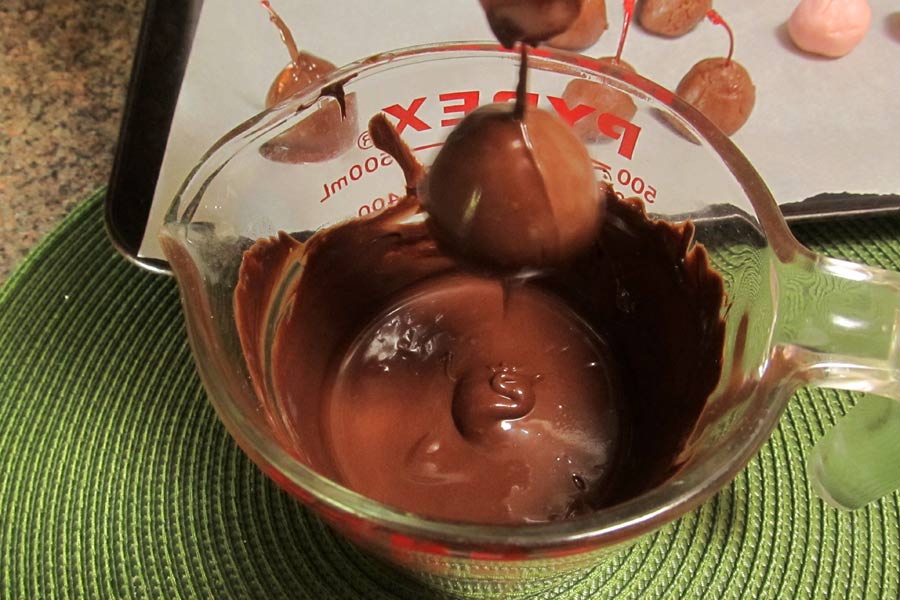
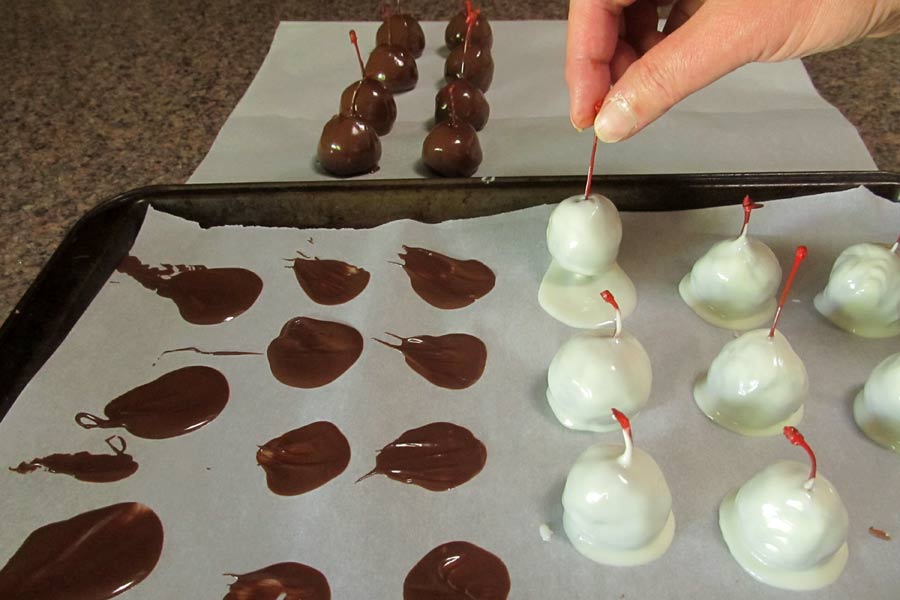
You might need to add more shortening or oil in order to get the chocolate to the right consistency. You want it to be thin enough to just thinly coat the cherries. If it’s too thick it will make a super thick coating…and that’s not good! Now dip, dip, dip my friends. Don’t worry about the whole “let the excess drip off before placing on parchment paper” thing. There is NO WAY you’re going to be able to drip enough off to keep them from getting a flat chocolate bottom – but I’ve got a cure for that later in the process. For now, just dip and set aside on parchment paper. You have lots and lots of these itsy bitsy miniature cherries to dip, get busy!
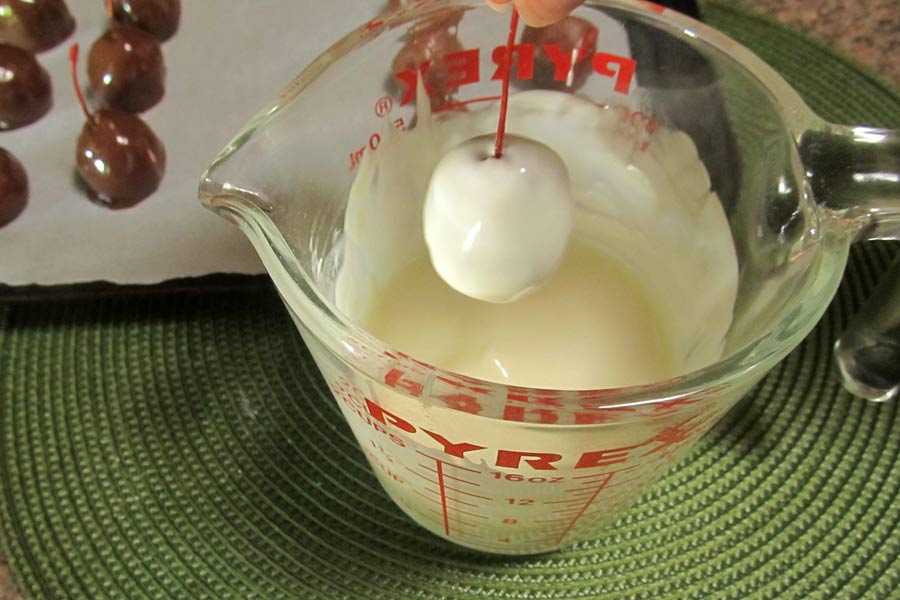
Once you’ve dipped all of the chocolate ones, time to move on to the white chocolate. Melt the chips the same way in the microwave, adding more shortening or oil if you need it. Then dip, dip, dip some more! Meanwhile, you’ll see that the first batch you dipped has now formed those dreaded flat bottoms. We’ll take care of that in just a few minutes – don’t stop dipping!
All done dipping? Yay! Time to fix that pesky excess chocolate problem. Grab a fresh piece of parchment paper and lay it on the counter. Now lift each cherry slightly and drag it a bit as you lift it. Place it on the fresh parchment paper to continue drying. You might not be done with the flat bottom thing yet, but they’ll look heaps better!
Walk away for another 10 minutes, then check to see if you need to do the lift and drag one more time to remove any remaining flat bottoms. Yep, I moved them this first time, then put fresh parchment paper on my cookie sheet and did the lift and drag one more time. Once that was done, it was time to pop them into the fridge for an hour to harden the chocolate.
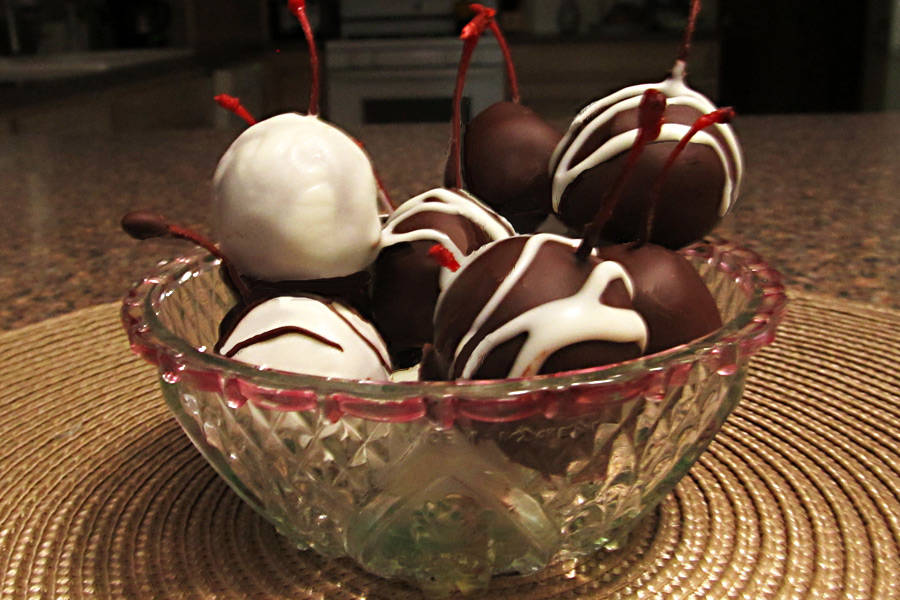
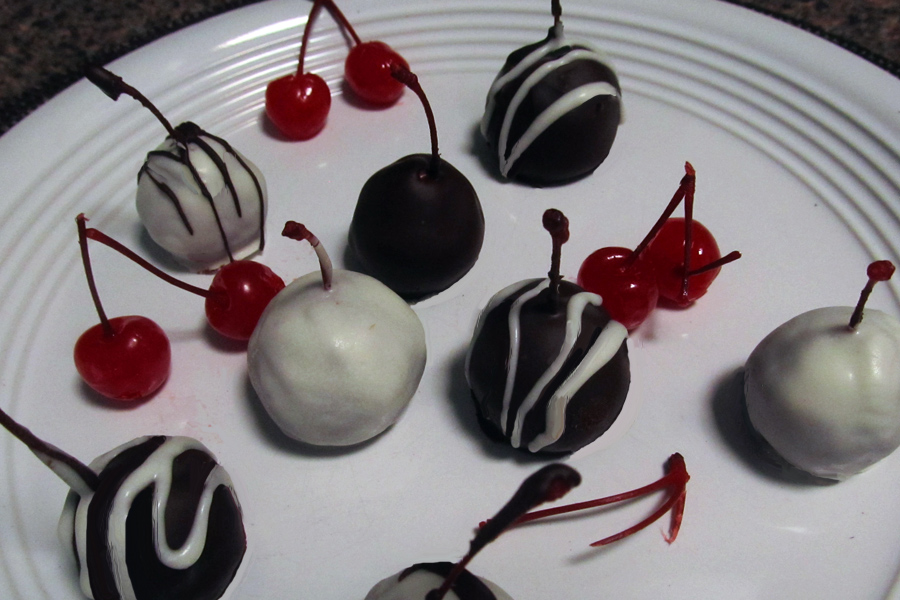
Once the chocolate shell is nice and hard, place them into an airtight container and set them in your refrigerator to age for at least a month before serving. If you want to hurry them up a bit, you can leave them in a cool, dark place in your house rather than the fridge. Just be sure that the temps are lower than 65F so the butter doesn’t go rancid before they’re done turning the fondant into thick, sweet, delicious liquid. In a month, you’ll have the best chocolate covered cherries you’ve ever eaten, and with the stems to hold on to, it means that the chocolate will melt in your mouth…not in your… oh wait, that’s another candy, isn’t it!
Chocolate Covered Cherries - with Stems
Ingredients
- For the Fondant
- 1/2 cup butter softened
- 5 cups sifted powdered sugar
- 4 tablespoons reserved maraschino cherry juice
- For Chocolate Fondant:
- 1/4 Cup Cocoa
- 1/2 Recipe of Fondant
- 1 - 2 tablespoons reserved maraschino cherry juice
- Other Ingredients
- 2 10 oz. jars maraschino cherries with stems
- 3/4 Cup Semi-Sweet Chocolate Chips
- 3/4 Cup White Chocolate Chips
- 4 tablespoons shortening or oil
Instructions
- Drain the cherries, reserving the liquid for later use. Set the cherries on paper towels to dry them, and allow them to sit on the towels for at least 1 hour. Pat the tops of the cherries gently with paper towels to remove any remaining moisture after 1 hour.
- Beat butter at medium speed with an electric mixer until creamy; gradually add 4 cups powdered sugar, beating well. Add Maraschino Cherry Juice, beating until blended. Add remaining 1 cup powdered sugar, mixing well, till mixture can be rolled into a ball in your hands. It should not be sticky!
- Divide fondant in half and place second half into a small bowl. Add the cocoa and 1 tablespoon maraschino cherry juice. Mix well by hand, adding 1 more tablespoon of the cherry juice if needed.
- Shape each fondant type around one half of the cherries. Cover them completely with a thin layer of the fondant. Place them on parchment paper. When all have been placed on the paper, re-roll them if needed in order to make them round.
- Let sit, uncovered, on the parchment paper till the fondant is dry to the touch - about 30 minutes.
- Using one color of chips at a time, place them in a large glass measuring cup, or small bowl. Microwave on high for 1 minute. Add 2 tablespoons of shortening or oil to the melted chips, then stir well. If chips are not completely melted, microwave again in 30 second increments just till melted.
- Holding the stems, dip the pink fondant covered cherries into the semi-sweet chocolate mixture. It's easiest to coat the tops of the cherries with chocolate if you use a teaspoon to spoon some of the chocolate over the tops, then dip the bottoms into the chocolate.
- Place on parchment paper on a small cookie sheet or other flat baking pan.
- Microwave the white chocolate chips using the instructions above for the semi-sweet chips.
- Dip the cocoa fondant covered cherries into the melted white chocolate mixture using the same techniques.
- The chocolate coating will form a wide flat base on the cherries.
- When all cherries have been dipped, beginning with the first cherries you dipped, use a dragging motion to lift them off of the parchment paper. This will remove the excess chocolate and give them a nice round look. Place them onto a fresh piece of parchment to continue drying.
- You may need to repeat this dragging and moving procedure one more time in order to remove all of the excess chocolate from the bottoms.
- Place the covered cherries into the refrigerator for 1 hour to harden the chocolate.
- Store in an airtight container in the refrigerator or a cool place for at least 30 days before serving. The fondant will turn into liquid cordial during the aging period.




I’m sorry but you have gone to all the trouble to make chocolate covered cherries and you use chocolate chips ?? That’s the best way to make your CCCs taste like a hershey bar with a cherry in it.
You need to find high quality chocolate from a chocolate company like Daffins , Philadelphia Chocolates, Etc. Don’t bother to make homemade candy without using high quality ingredients ls
Hi Darlene,
Thank you for your comments. This is an old family recipe, which I explained up above. I used to make them for my Mom with chocolate chips and they are absolutely scrumptious. Well, for us regular folks who don’t possess the foodie snob gene anyways. LOL
You make them your way, I’ll carry on the family tradition my way and we can both be friends, ok?